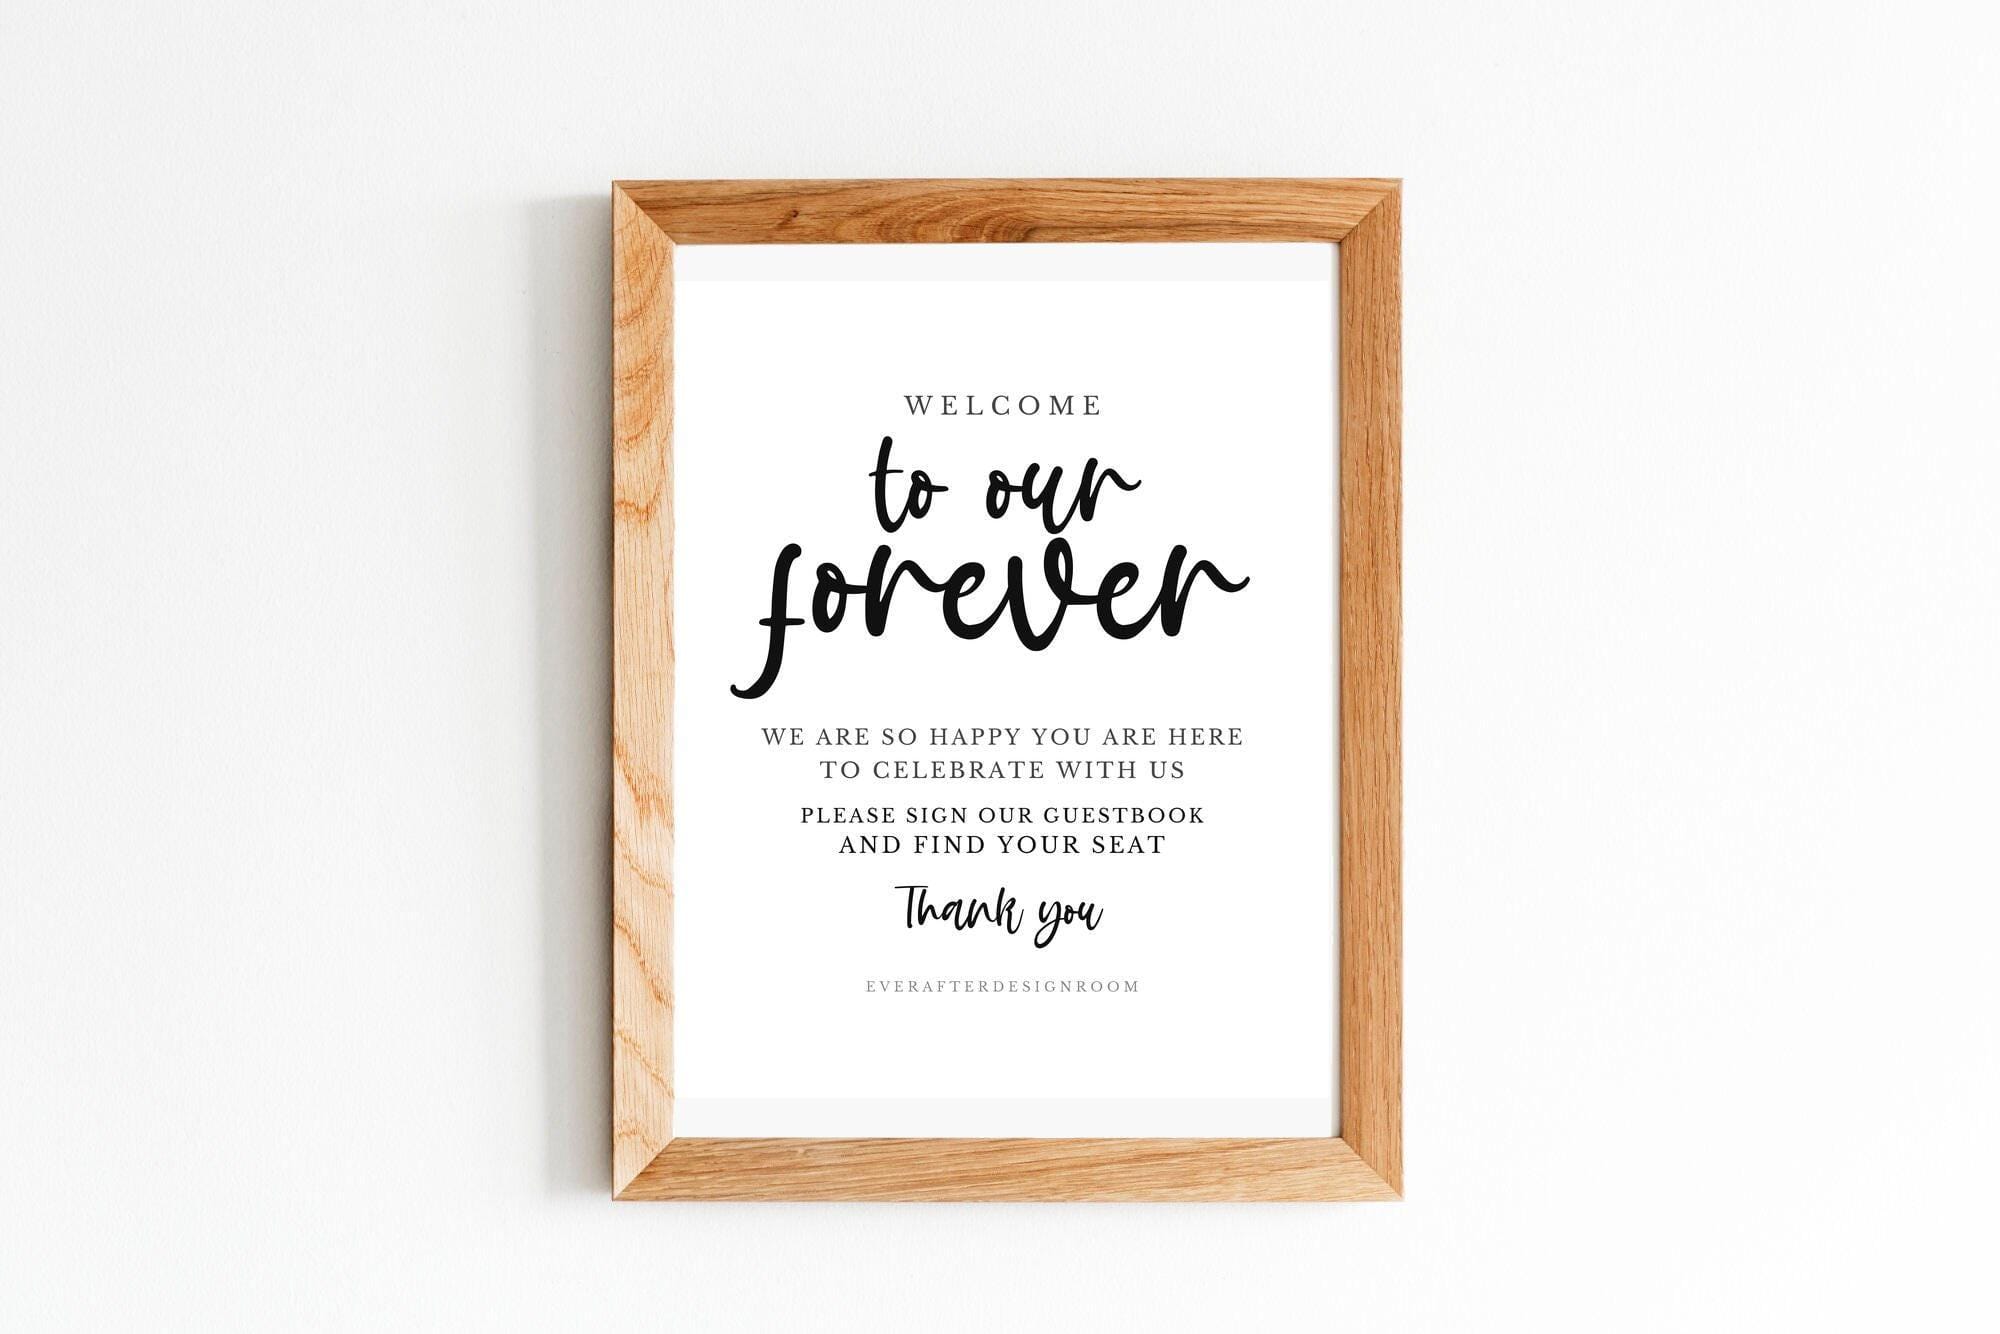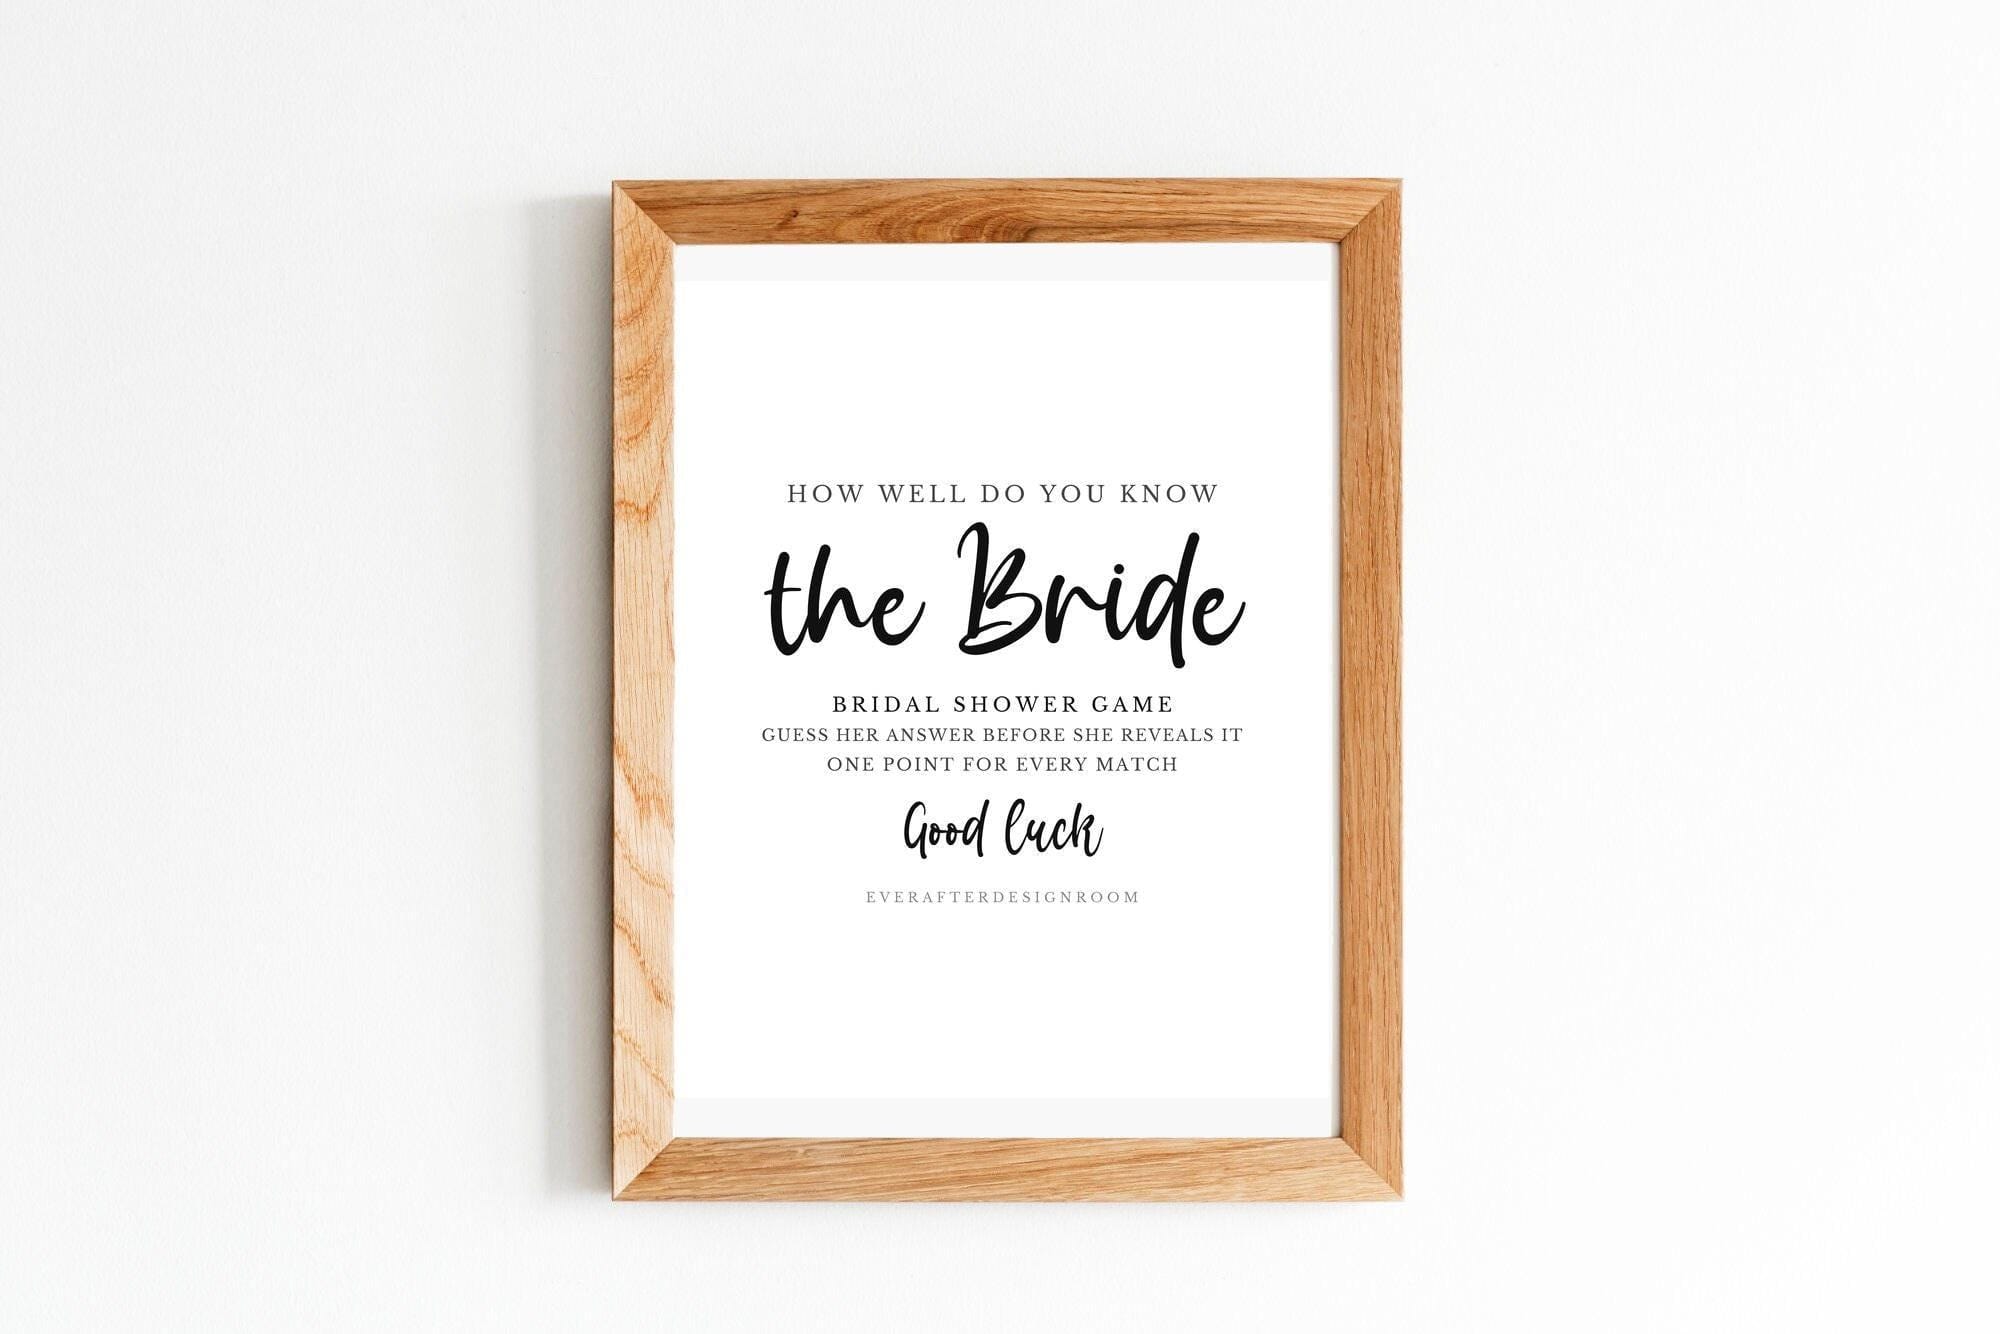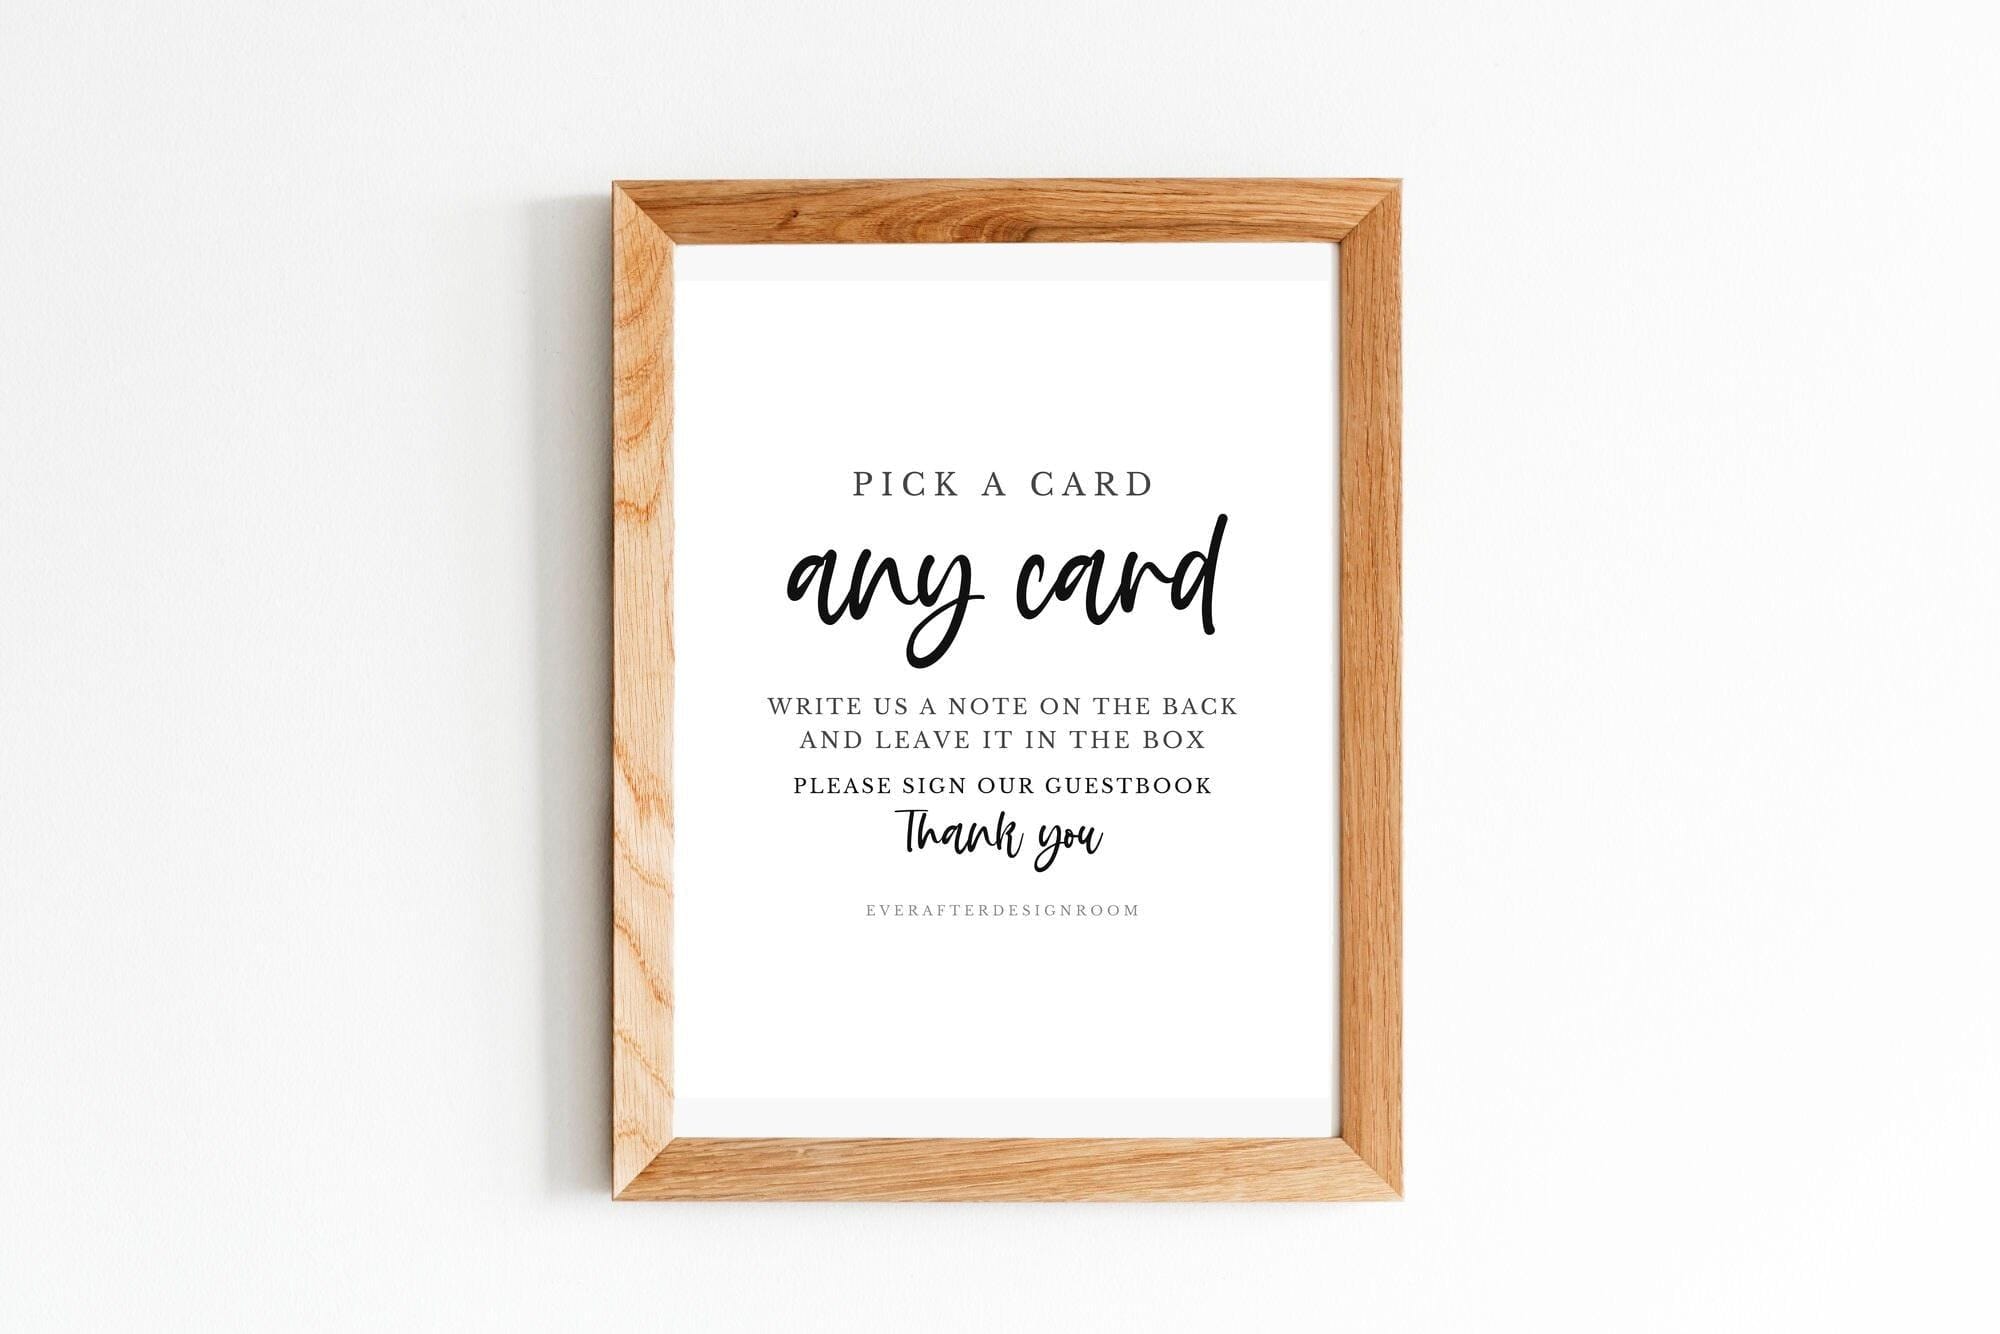
How to Print Wedding Signs at Home: A Two-Day Guide
The files are downloaded and the wedding is on Saturday. This guide shows you how to print wedding signs at home without wasting a pack of card, and without a welcome sign that looks fuzzy from the back of the room. I've written it for the couple at the kitchen table on Thursday night with an ordinary inkjet.
The short version: print the PDF, or the largest JPG in your download, at 100% scale on 250-300gsm matte card. Run a test page on plain paper first. Anything bigger than A3 (or 11x17 inches) should go to a print shop, because most home printers stop at A4 or US Letter.
Check the printable wedding sign before you buy
Most printing trouble starts at the listing, long before the file gets anywhere near your printer. Two days out, there's no time to message a seller back and forth. Read the description for the details below before you pay.
File type and resolution
A PDF is the safest file to print from. The text stays crisp and printer drivers rarely argue with it. A JPG is fine too, as long as it was made at 300 pixels per inch for the size you want to print.
To check, divide the pixel width by 300. A file 7200 pixels wide prints cleanly at 24 inches. At 2400 pixels wide it's fine at 8 inches, but it goes soft when you stretch it across a large welcome sign.
The shape has to match your frame
This one catches a lot of people out. A-series paper (A4, A3, A2) is a different shape from US frame sizes like 8x10 or 16x20, so a file made for A4 won't fill an 8x10 frame. You either crop the design or live with white strips down the sides.
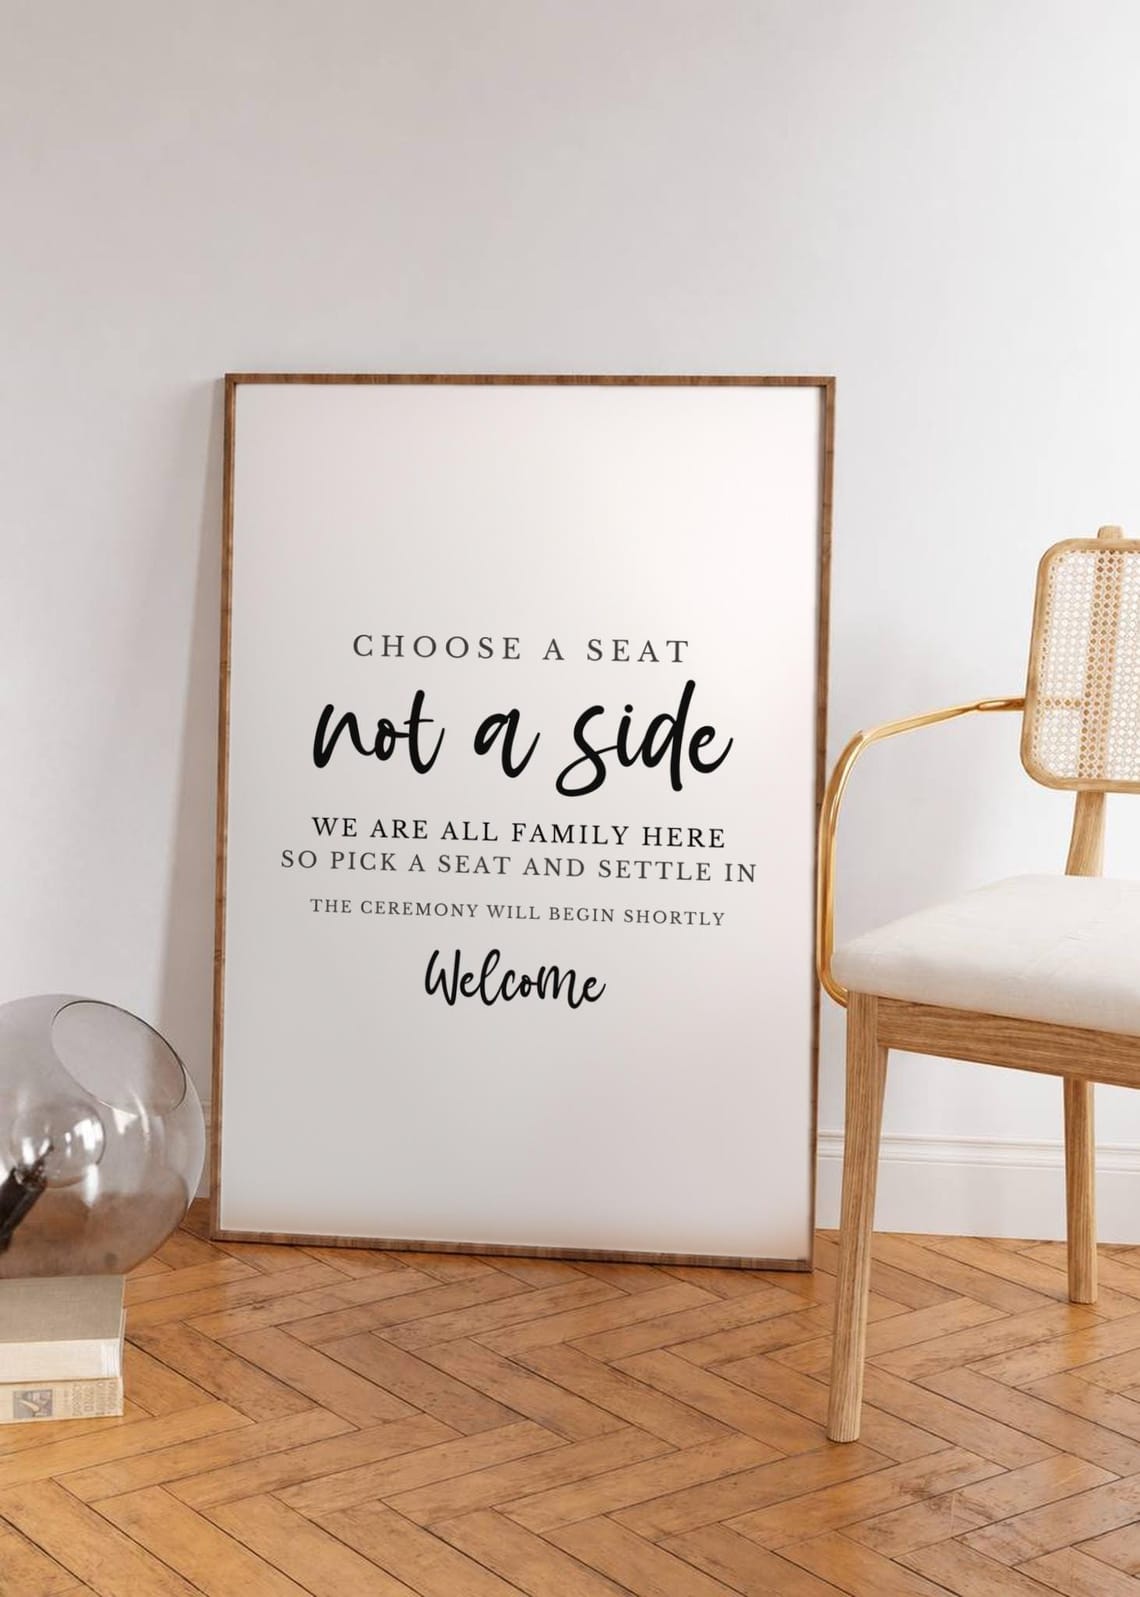
Choose the frame first, then find a listing that offers that exact size. If you haven't settled the words yet, our notes on wedding welcome sign wording are worth a read before you order anything personalised.
Wedding sign sizes and where to print each
Size decides whether home printing is even an option. These are the sizes I see most often at weddings, with a plain note on each.
- A5 or 5x7 inches: table numbers and small signs by the cards box. Easy at home.
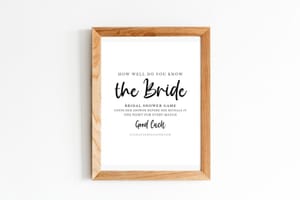
- A4 or 8x10 inches: bar menus, unplugged ceremony signs and hashtag signs. Easy at home if your printer takes card.
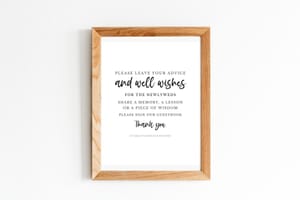
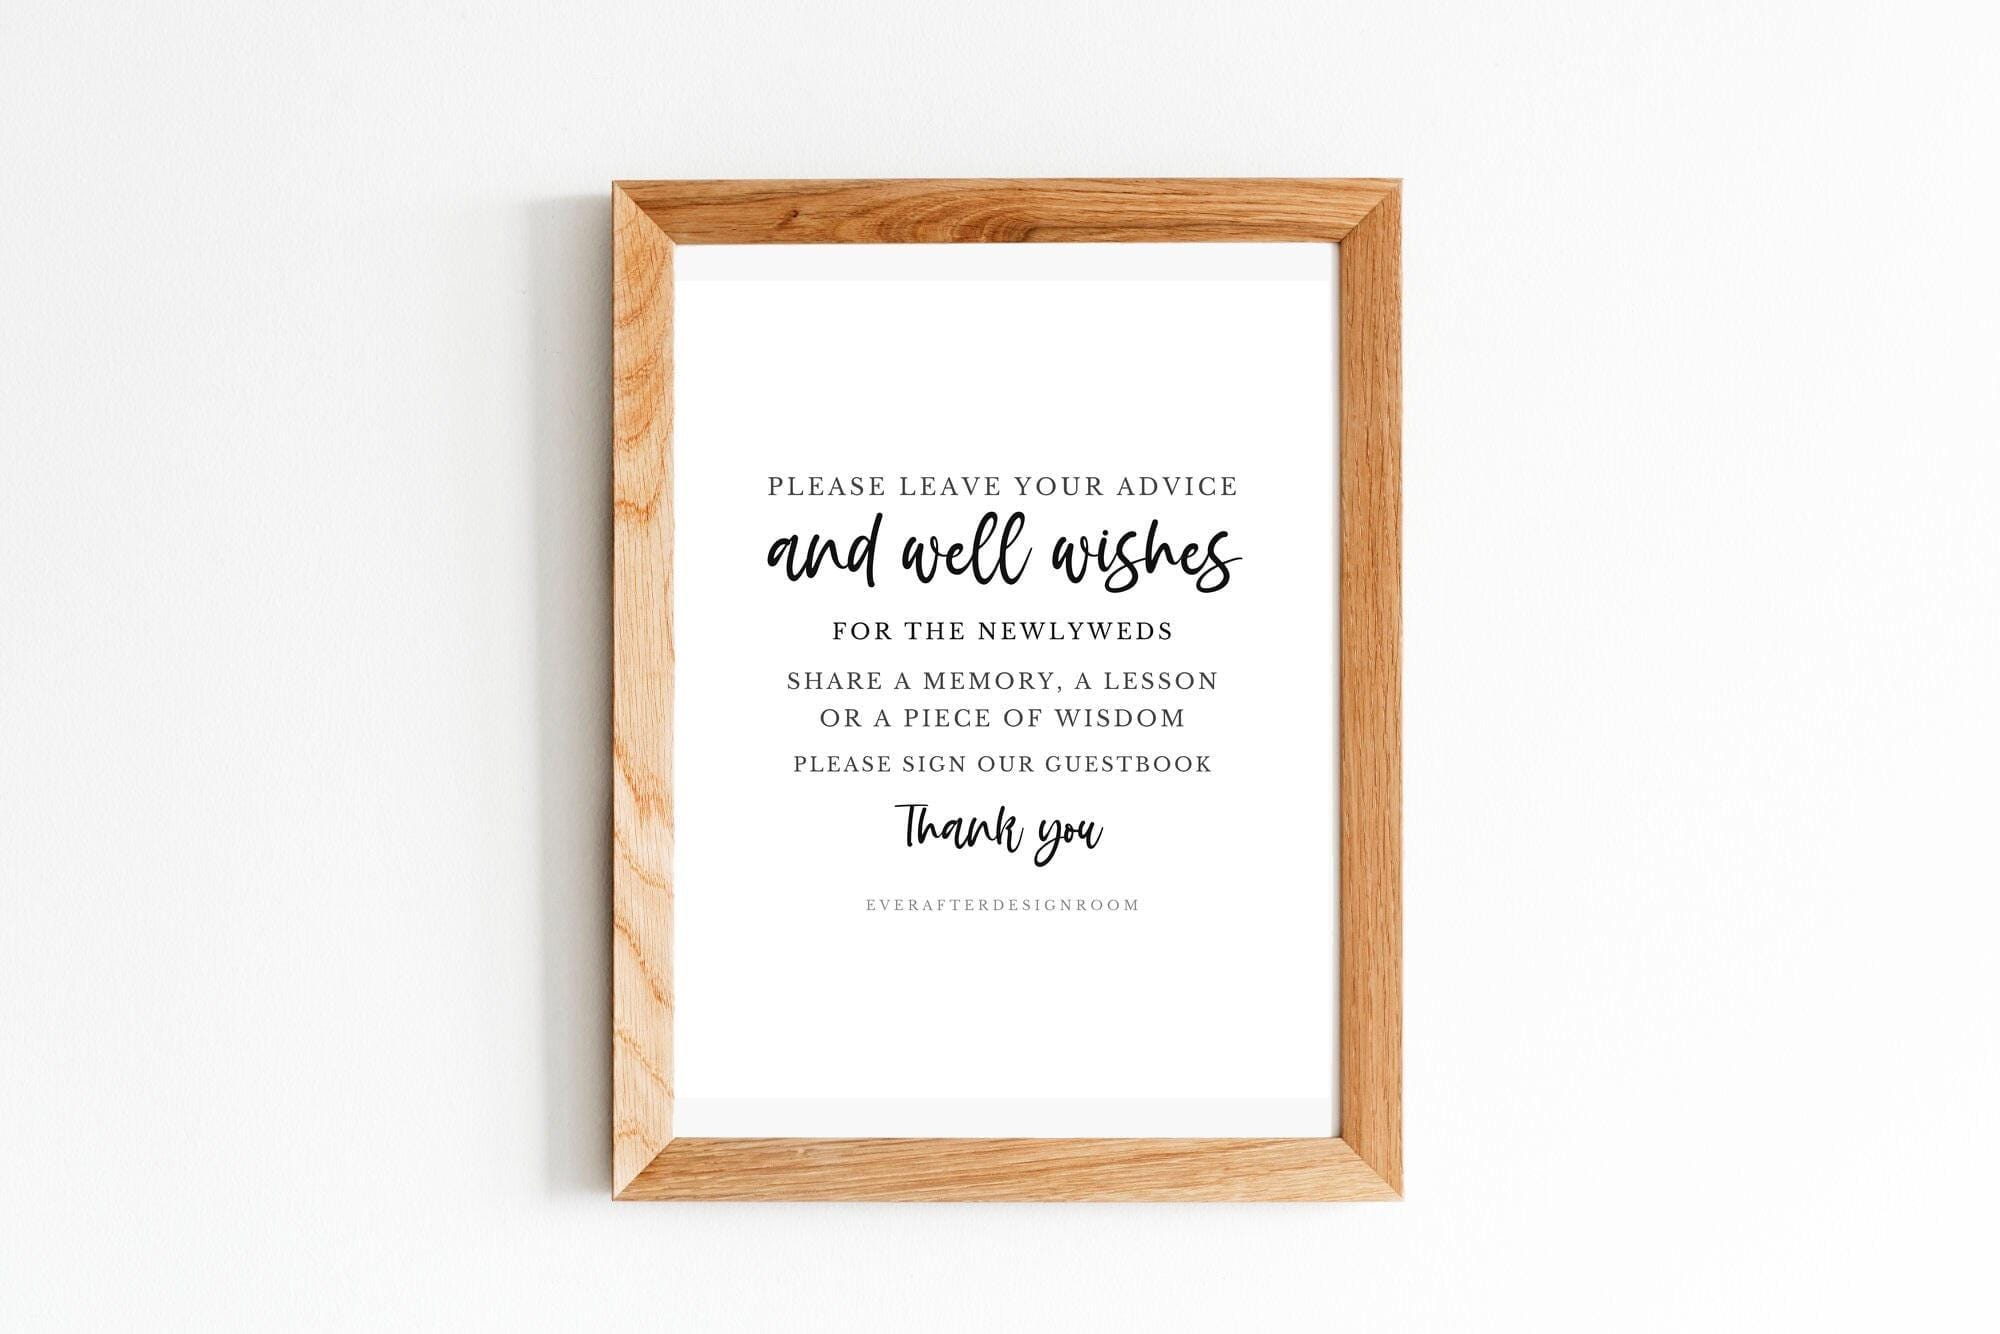
- A3 or 11x17 inches: order of the day and advice signs. Only on an A3 printer, otherwise a print shop.
- A2 or 18x24 inches: the usual welcome sign on an easel. Print shop.
- A1 or 24x36 inches: large welcome signs and seating charts. Print shop, ideally mounted on foam board.
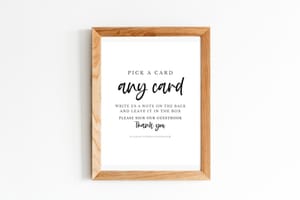
- Guestbook signs: usually A4 or 8x10, standing in a frame on the guestbook table.
A print shop can often turn a single large print round the same day or by the next morning, and many will mount it on foam board for you. Ring ahead to ask what file they want. Most are happy with a PDF by email or on a USB stick.
If you're still short of a sign or two, the printable wedding and guestbook signs at EverAfterDesignRoom are instant downloads, so you could print them tonight. Personalised pieces take 1-2 days to prepare. That's tight this close to the date, so order those first thing.
What paper for wedding signs
Paper weight
Ordinary printer paper is around 80gsm. In a frame it curls, and the colour of the table shows through. For signs that stand on their own or lean against a vase, use 250-300gsm card.
Before you buy a pack, check the heaviest paper your printer will take. You'll find it in the manual or on the manufacturer's spec page, and heavy card often has to go through the rear or manual feed rather than the main tray. Signs going behind glass can be lighter. 200gsm is plenty when the frame holds it flat.
Matte versus gloss
I'd pick matte for nearly every wedding sign. Venue lighting and camera flash bounce off gloss, and that bright patch is what turns up in your photos. Matte card also feels closer to a printed invitation, which suits most wedding lettering.
Gloss does have a place on photo-heavy signs, like a board of pictures from your years together. Even there I'd lean towards satin or lustre, though that part is a matter of taste.
Framed signs pick up glare from the glass itself, and matte paper won't help with that. Keeping the frame away from windows does far more.
How to print wedding signs on a home printer
Print one test page on plain paper before you touch the good card. You'll see where the margins fall and whether the scale is right, while a mistake still only costs a sheet of 80gsm. Then work through these settings.
- Open the PDF in a proper PDF reader, not a browser preview.
- Set the scale to 100% or "actual size". "Fit to page" shrinks the design and the sign will sit loose in its frame.
- Pick the paper type that matches your card, such as "matte photo paper" or "heavyweight matte".
- Choose the highest quality setting, even though it is slower.
- Feed one sheet at a time through the rear or manual tray.
- Leave each print to dry for a few minutes before stacking, as heavy card holds ink longer.
- Print one spare of every sign in case of a spill or a bent corner on the day.
Colours often print a touch darker than they look on screen. That's normal for a home inkjet on matte card. Our guide to printing digital art at home covers colour settings and printer quirks in more depth.
Trimming edges straight
Home printers can't print right to the edge of a sheet, so most printable signs come with a white border or trim marks that you cut away by hand.
A rotary or guillotine trimmer gives the cleanest edge. Without one, use a metal ruler and a craft knife with a fresh blade, working on a cutting mat or an old magazine. Hold the ruler on the side you're keeping, so if the blade slips it runs into the offcut.
Make two or three light passes instead of one hard one. Forcing the blade tears card. A framed sign can keep a few millimetres of border because the lip of the frame hides it, so save your care for the signs that stand bare.
Home printer or print shop: a two-day plan
With two days left, split the job. Print the small signs at home tonight, and send anything A3 or larger to a print shop first thing tomorrow so it's ready to collect before the wedding.
That leaves tomorrow evening free for trimming and framing. Lay the signs out on the floor in the order guests will meet them, then read every name and date once more. A spelling mistake on a seating chart is much easier to fix at home than at the venue.
If anything is still missing from your list, you can download printable wedding signs from the shop tonight and print them with the rest. Just pick the size that matches your frame before you check out.
Frequently asked questions
What is the best paper for printing wedding signs at home?
For signs that stand on their own, 250-300gsm matte card is the best choice. It stays flat and doesn't reflect the venue lights in photos. If the sign goes behind glass, 200gsm is enough. Check your printer's maximum paper weight before buying, because heavy card usually needs to go through the rear or manual feed.
What size should a wedding welcome sign be?
Most welcome signs are A2 or 18x24 inches, which reads well on an easel from a few metres away. Bigger venues sometimes go up to A1 or 24x36 inches. Both are too large for a home printer, so plan on a print shop, and ask whether they can mount the print on foam board so it stands firm.
Can I print an Etsy wedding sign download at a print shop?
Yes. Send the shop the PDF or the full-size JPG from your download, not a screenshot or a copy saved to your phone's photos, which may be compressed. Tell them the finished size and the paper or board you want. The listing will say what the licence covers, and printing for your own wedding is the usual use.
Why does my printed wedding sign look blurry?
Usually the file is too small for the print size, or the printer has scaled it. Divide the pixel width by 300 to find the largest size it will print sharply. In the print dialogue, set 100% or actual size and choose the highest quality setting. Print from the original PDF, not a preview or screenshot.