How to Print Digital Art at Home: A Clear Guide
Most custom art arrives as a file now rather than a parcel, which leaves the last step of the job to you. That sounds worse than it is. Ten minutes of care will get you a print that sits happily next to a lab one, and the two things that decide it are scale and paper, with colour settings behind them. What follows is what I tell buyers who message me the day their file lands.
Quick answer
Open the file at its full size and print at 100% scale, choosing 'actual size' or borderless rather than 'fit to page'. Set the quality to the highest your printer offers. Use a matte or lightly textured paper of at least 200gsm. Run one test on plain paper first to check nothing is being cropped, then print the real thing.
What you actually receive when you buy a digital download
A digital download is usually a JPEG or a PDF built at 300 dpi, the resolution that good home and shop printers are designed around. A file made for an 8x10 print at 300 dpi measures 2400 by 3000 pixels. That number tells you more than the file name does, because it decides how large you can print before the edges start to soften.
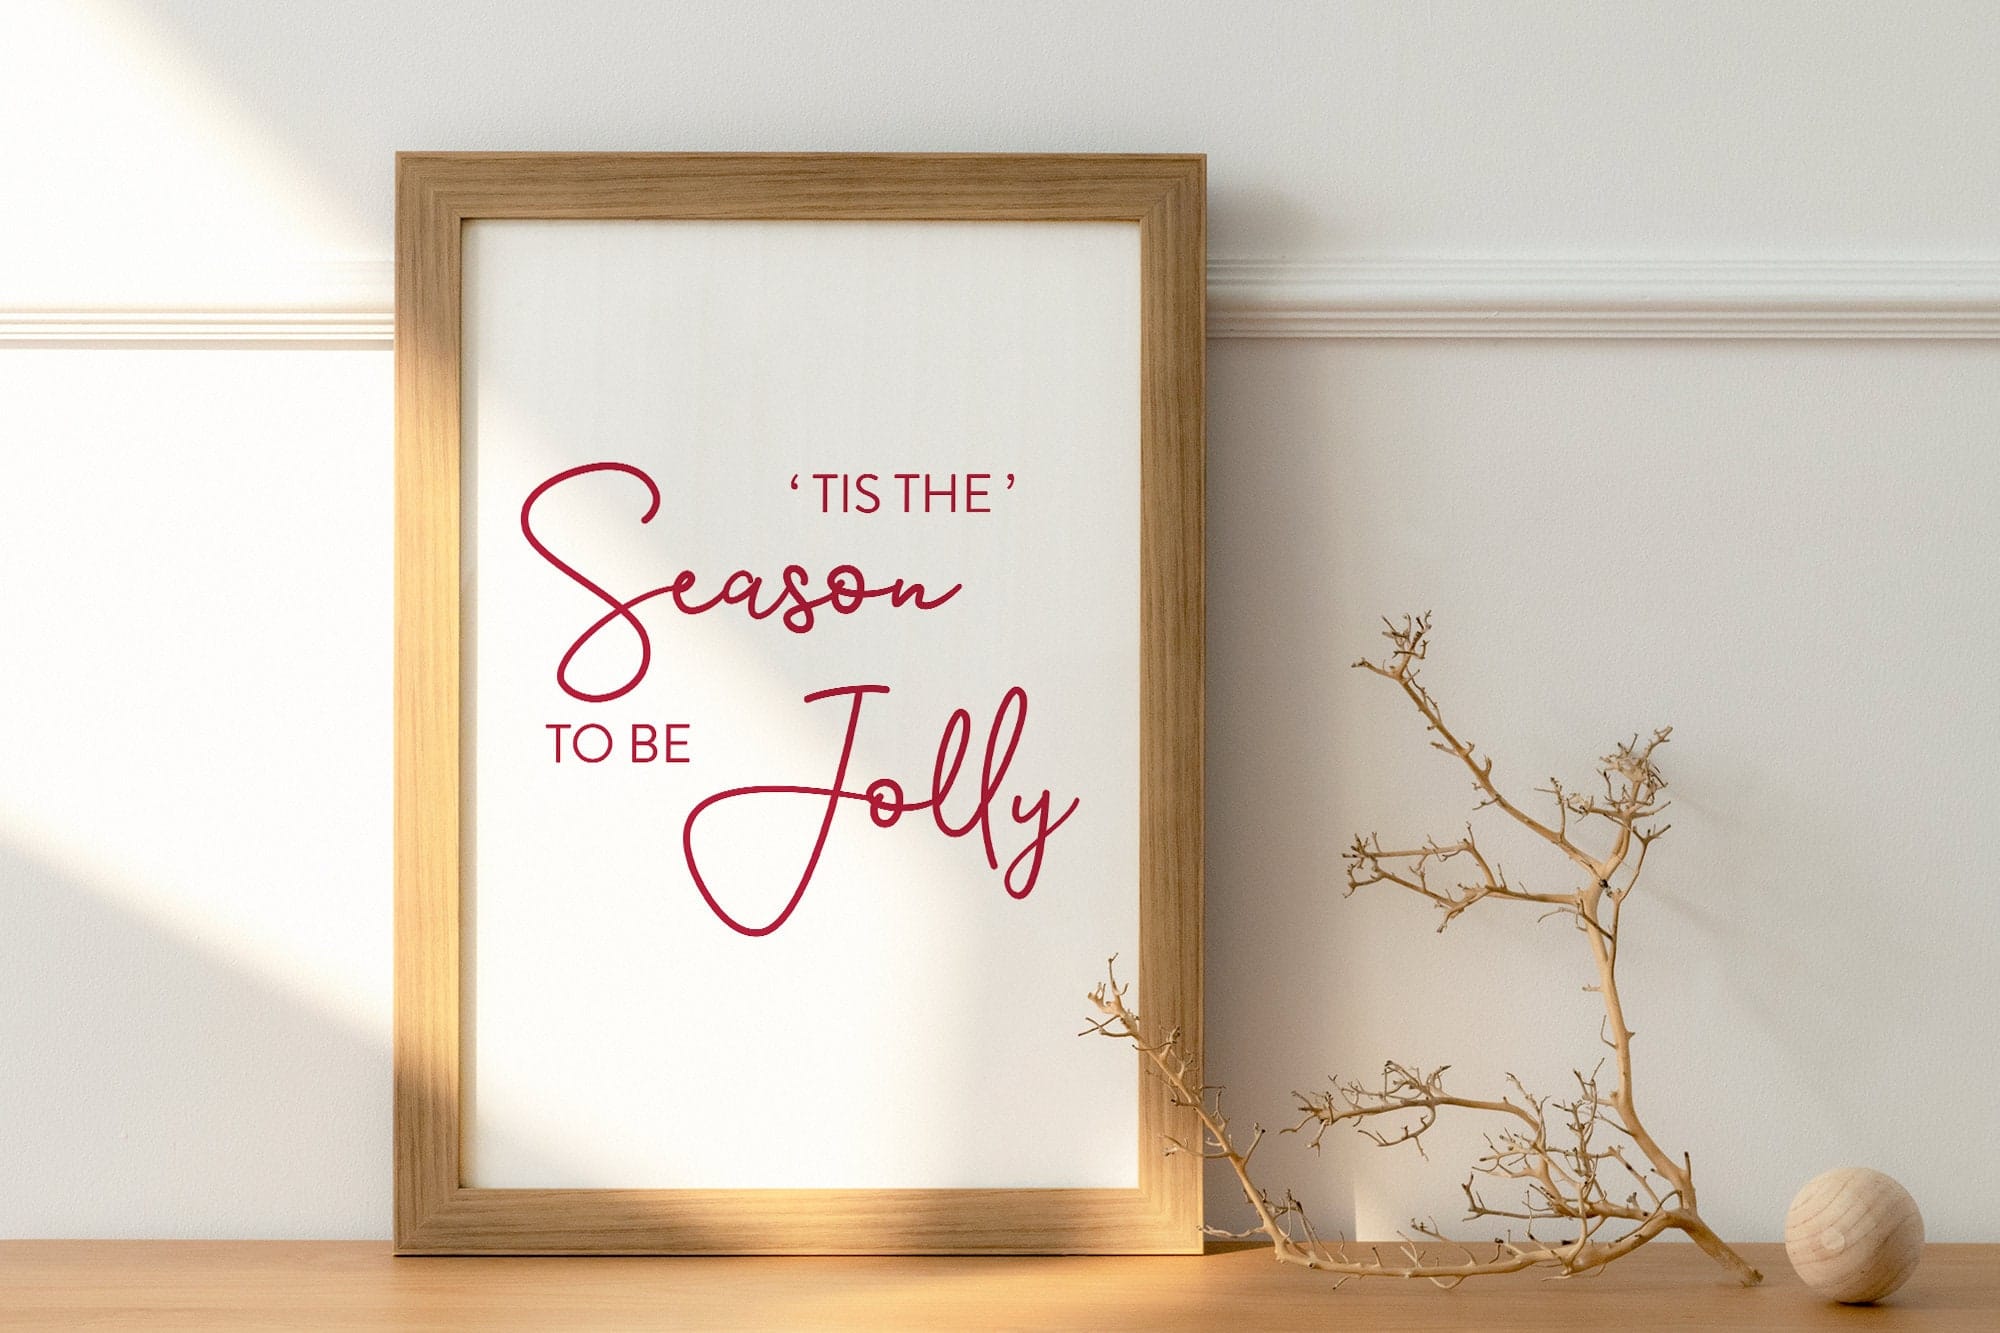
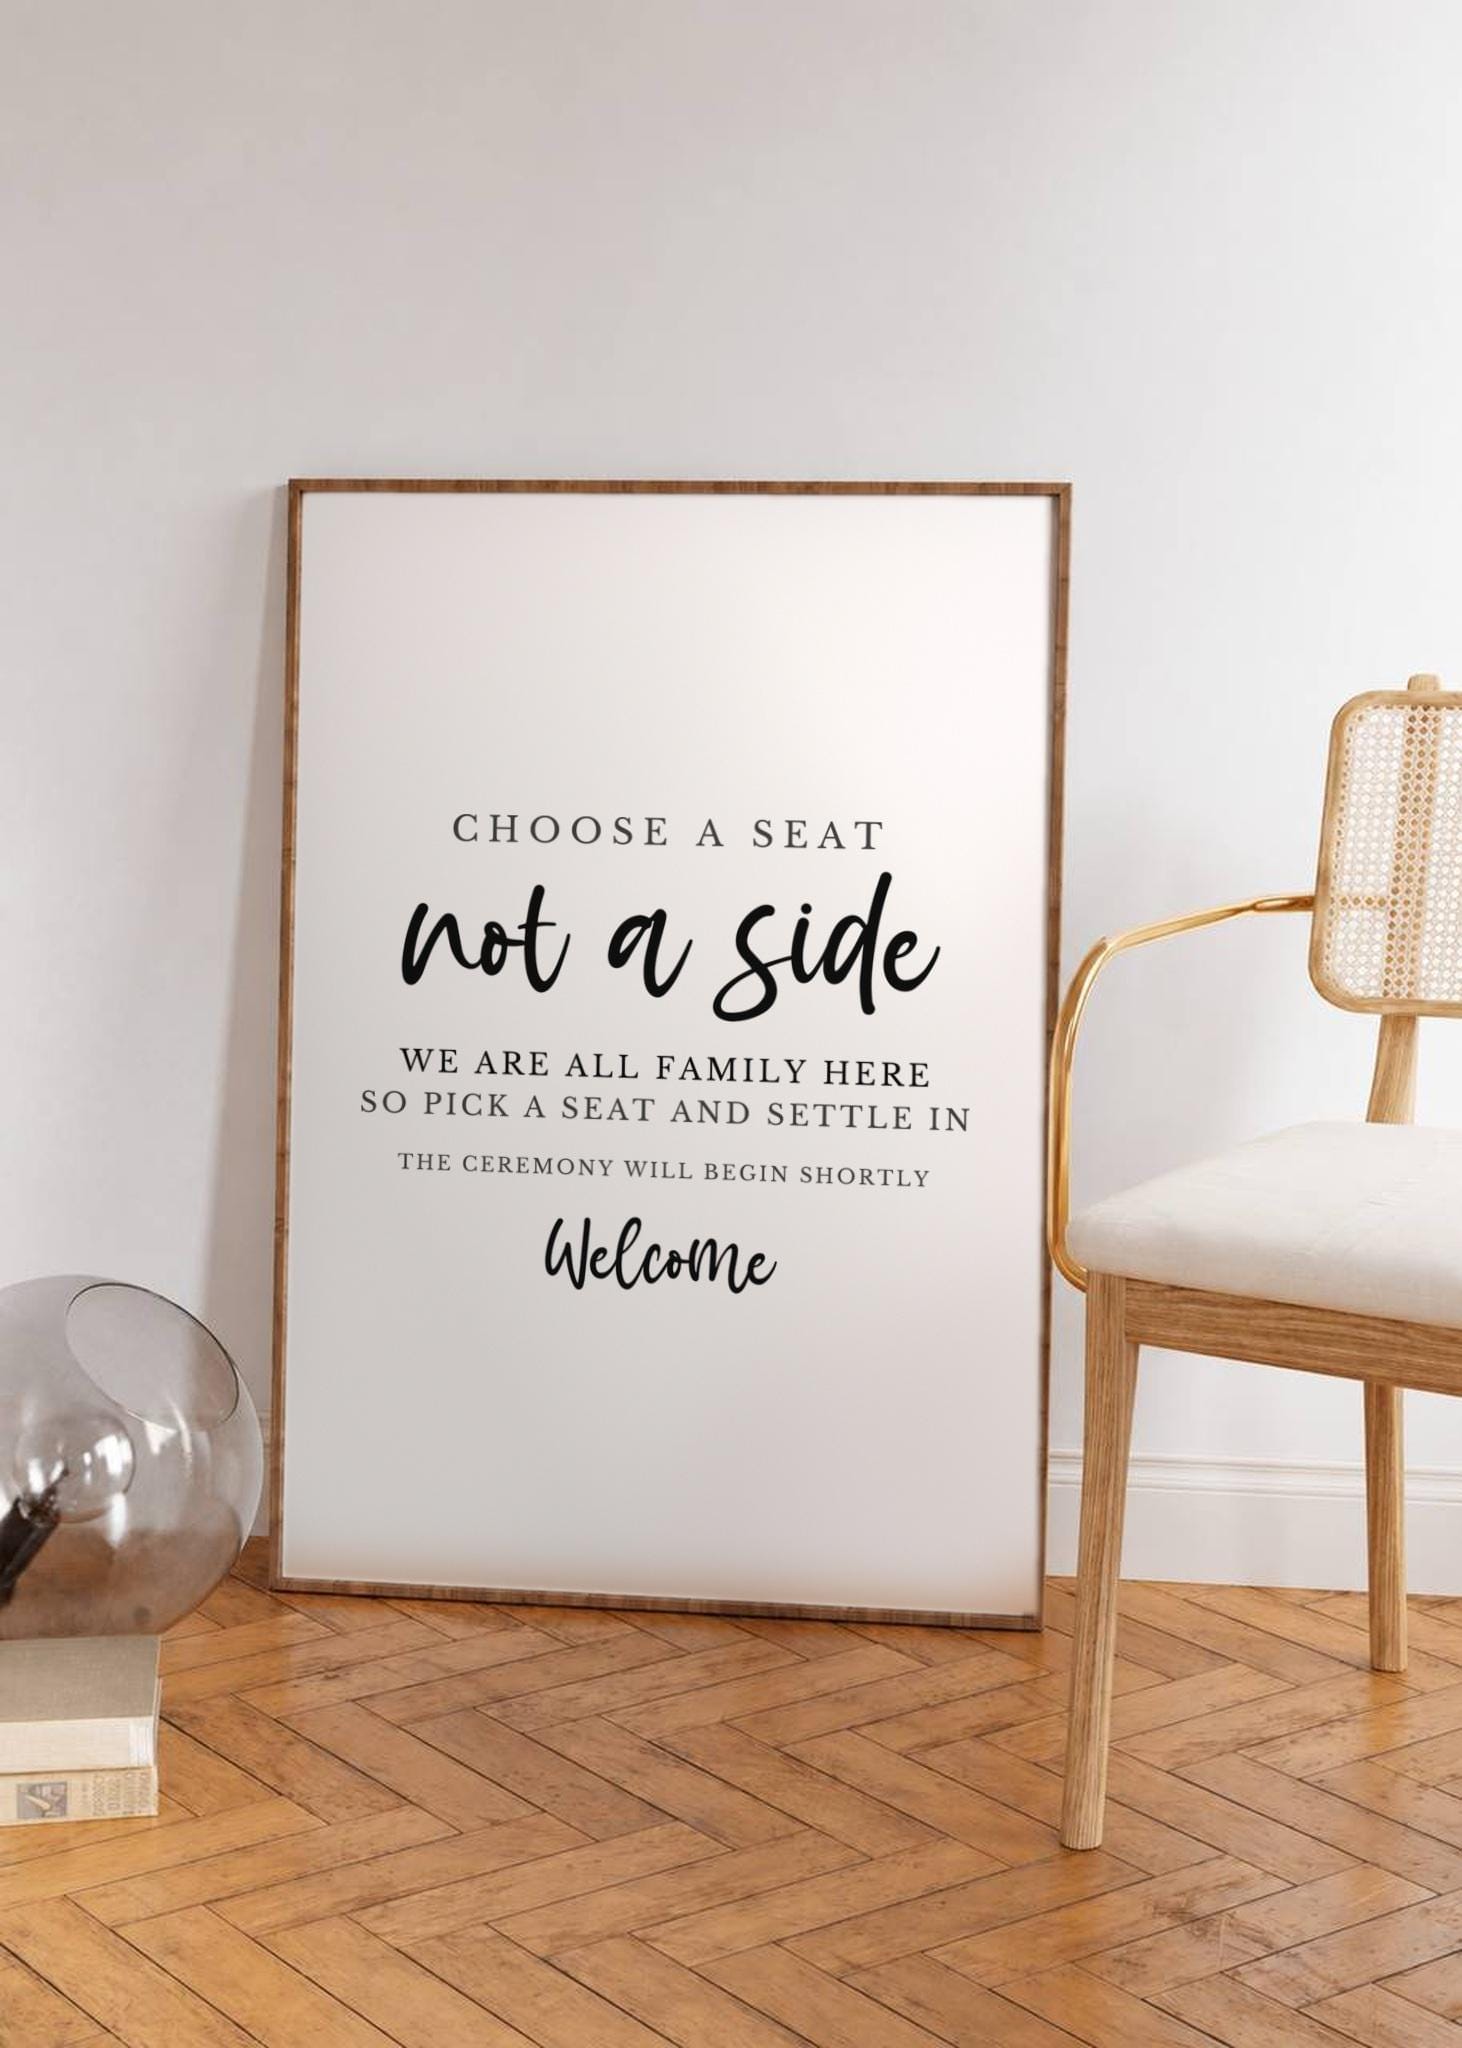
Personalised work takes one to two days to prepare here and comes to you as high resolution files. The printable wedding and graduation signs from EverAfterDesignRoom are instant downloads, so those you can open straight away. If a listing includes several sizes, you will usually get a separate file for each ratio rather than one file you are meant to stretch.
Why the ratio matters more than the inches
5x7 and 10x14 are the same shape, so one file covers both. 8x10 and A4 are not: A4 is a little longer and narrower, and an 8x10 file dropped onto an A4 sheet leaves you with uneven margins. Print the file that matches your frame. If you only have the one file, add the extra space as a white border instead of stretching the artwork.
How to print digital art at home, step by step
Work from the original file. Not a screenshot, not an email preview, not a copy you opened and re-saved on your phone, because each of those quietly throws away detail. Download the file to a computer or tablet, open it in a photo or PDF viewer, and print from there.
Print at 100% scale, never 'fit to page'
'Fit to page' is the commonest reason a print comes back the wrong size or with a signature clipped off the bottom. It shrinks the artwork by a few percent so it sits inside your printer's default margins, which means your 8x10 arrives slightly smaller and no longer fills the frame opening. Look for 'actual size', '100%' or 'scale: none'. Turn borderless printing on if your printer supports it.
Get the colour settings right once
Keep the file in sRGB, which is what nearly every download is saved as anyway. Then let one piece of software handle the colour rather than two: either set your printing app to manage colour and the printer driver to 'no colour adjustment', or leave the app alone and let the driver do it. Both at once is what sends skin tones orange and soft greys green.
Tell the driver which paper you have loaded. Choosing 'matte photo paper' or 'fine art paper' changes how much ink goes down, and that is often the difference between a crisp line and one that bleeds a hair.
Best paper for art prints: line art versus watercolour
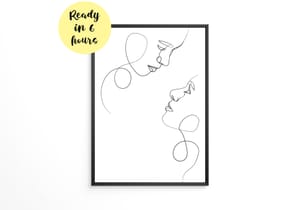
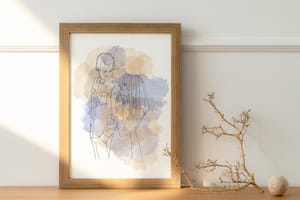
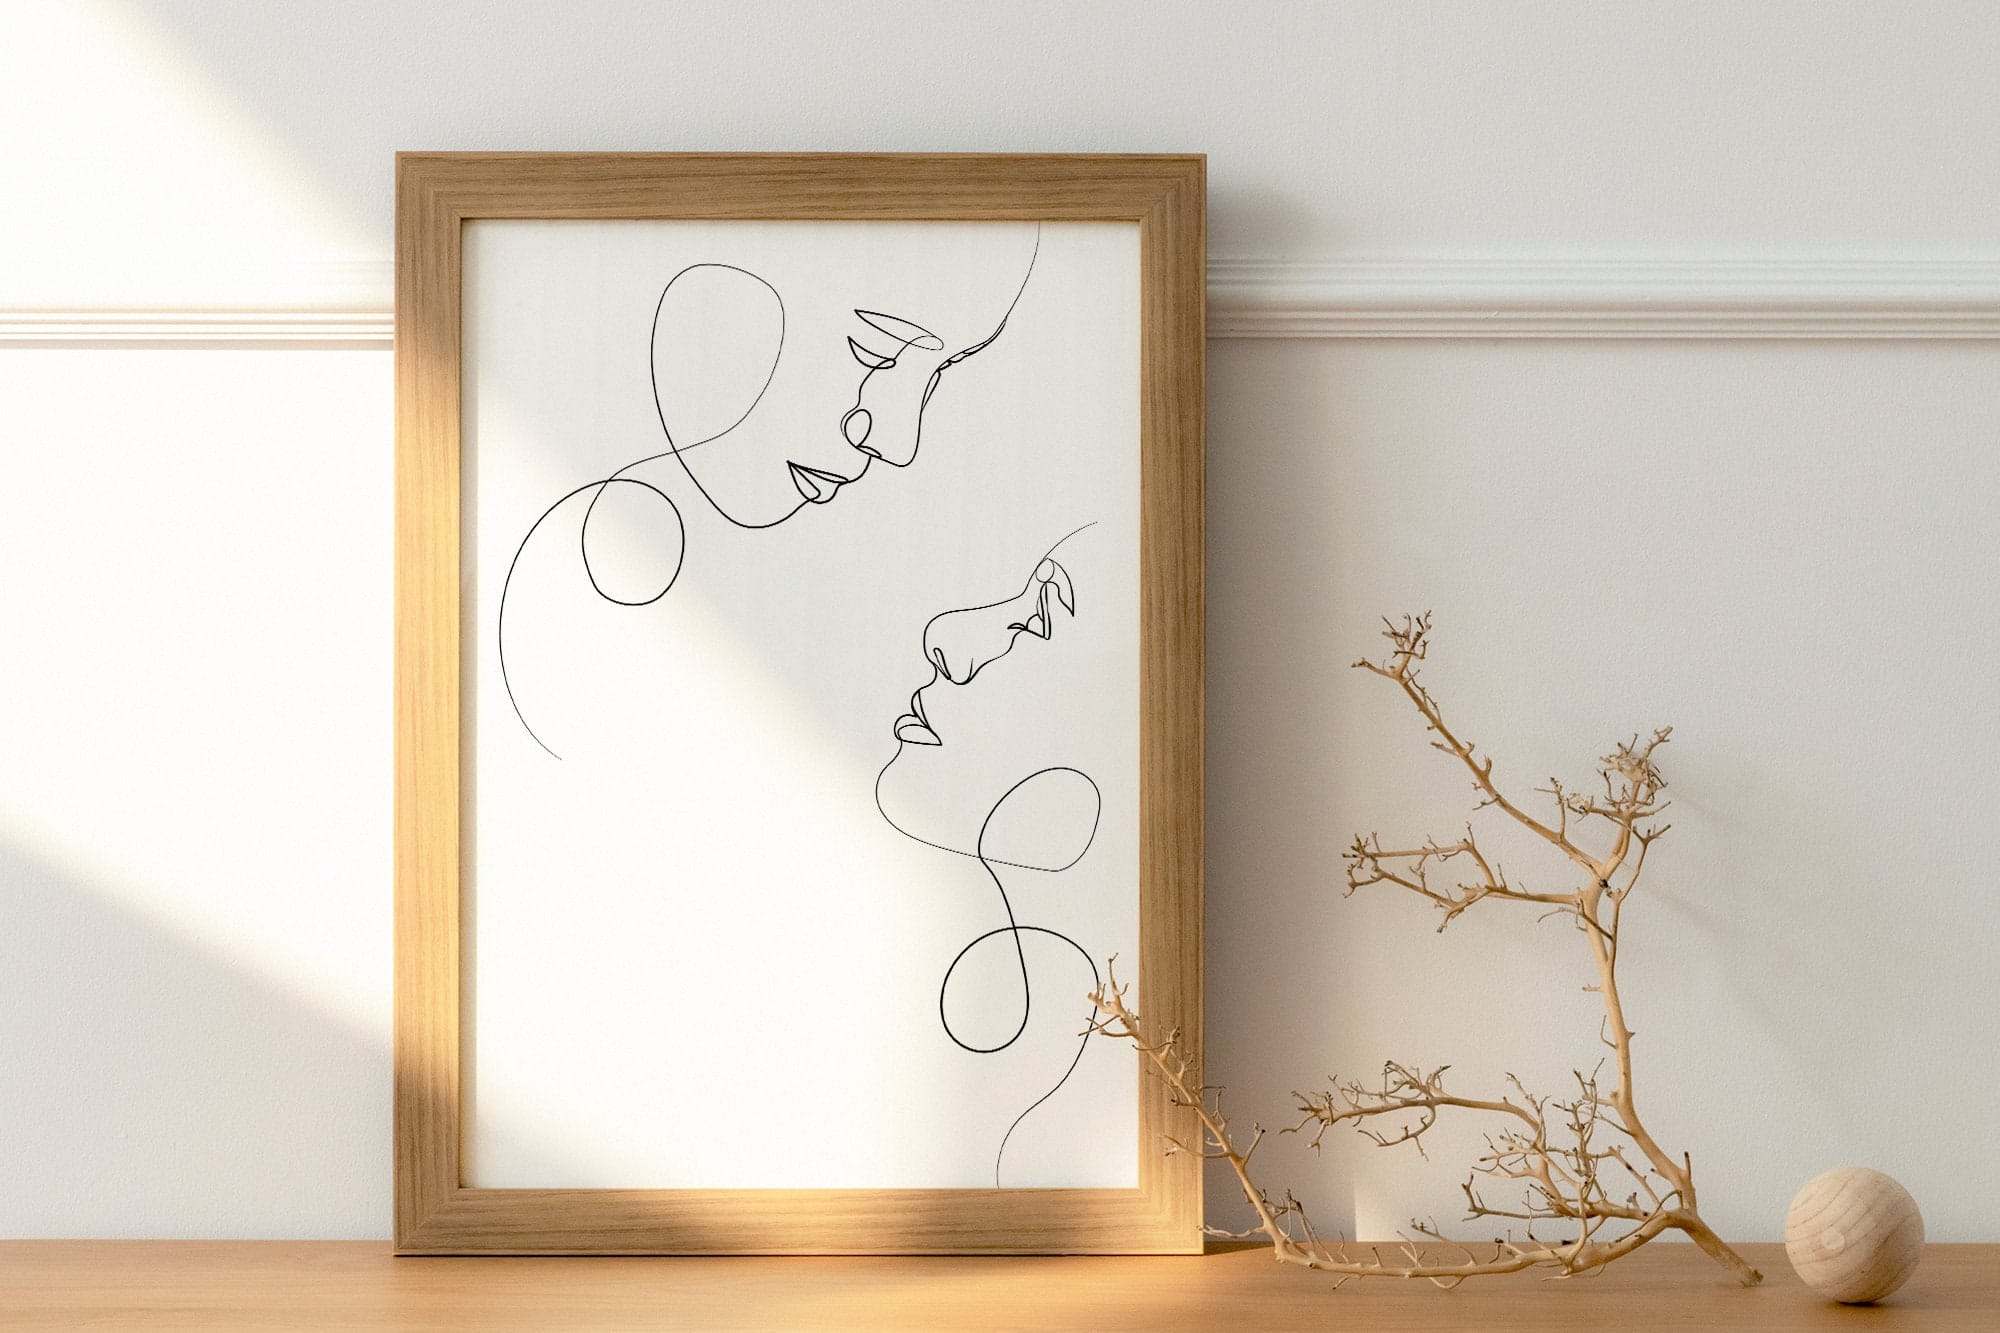
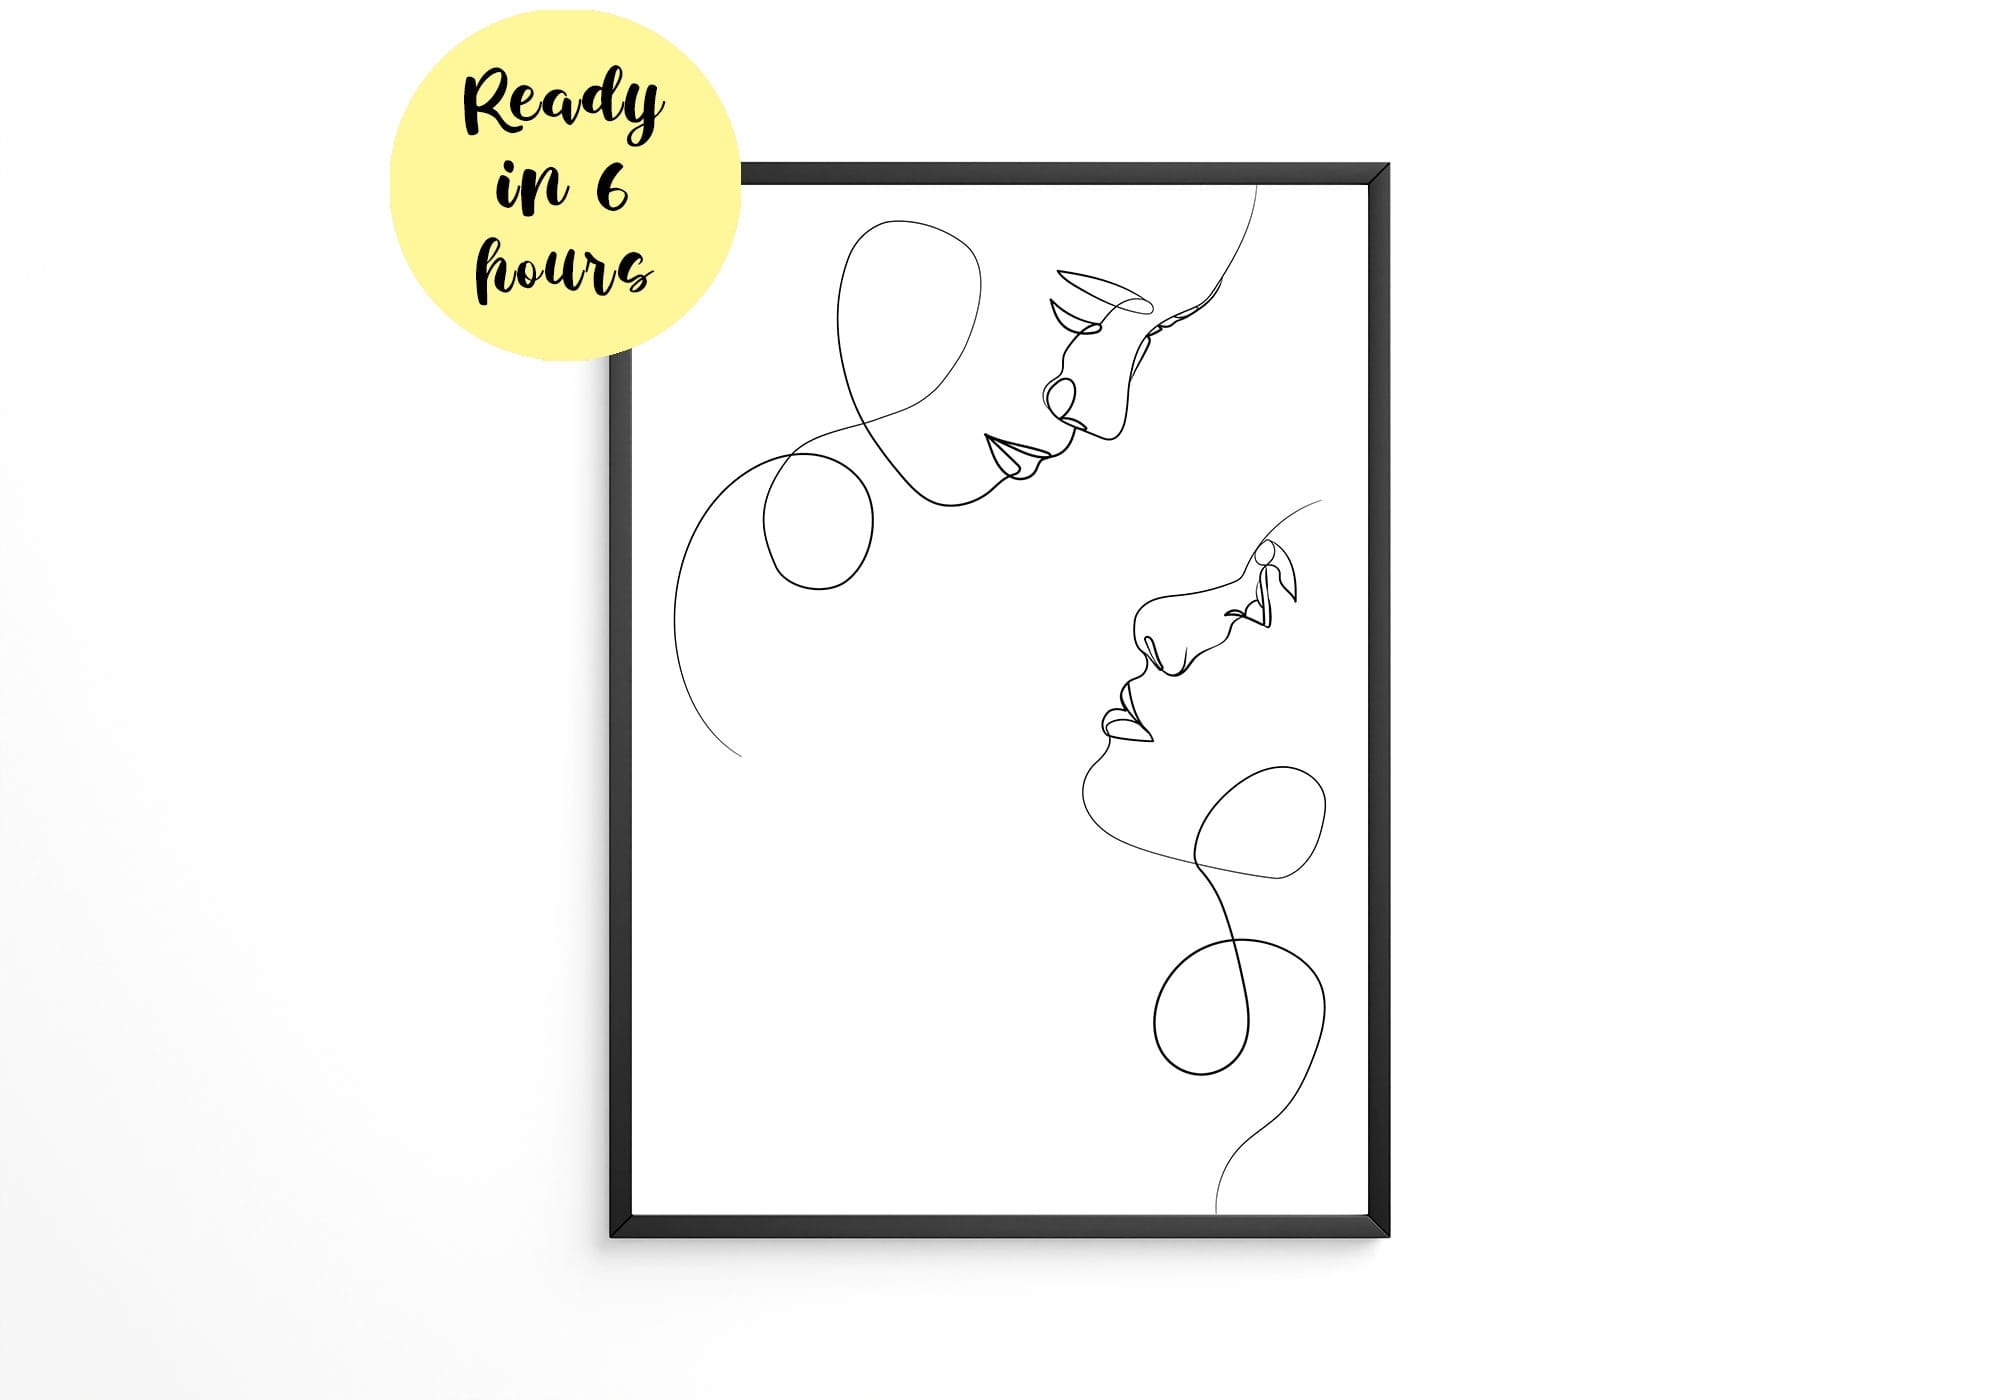
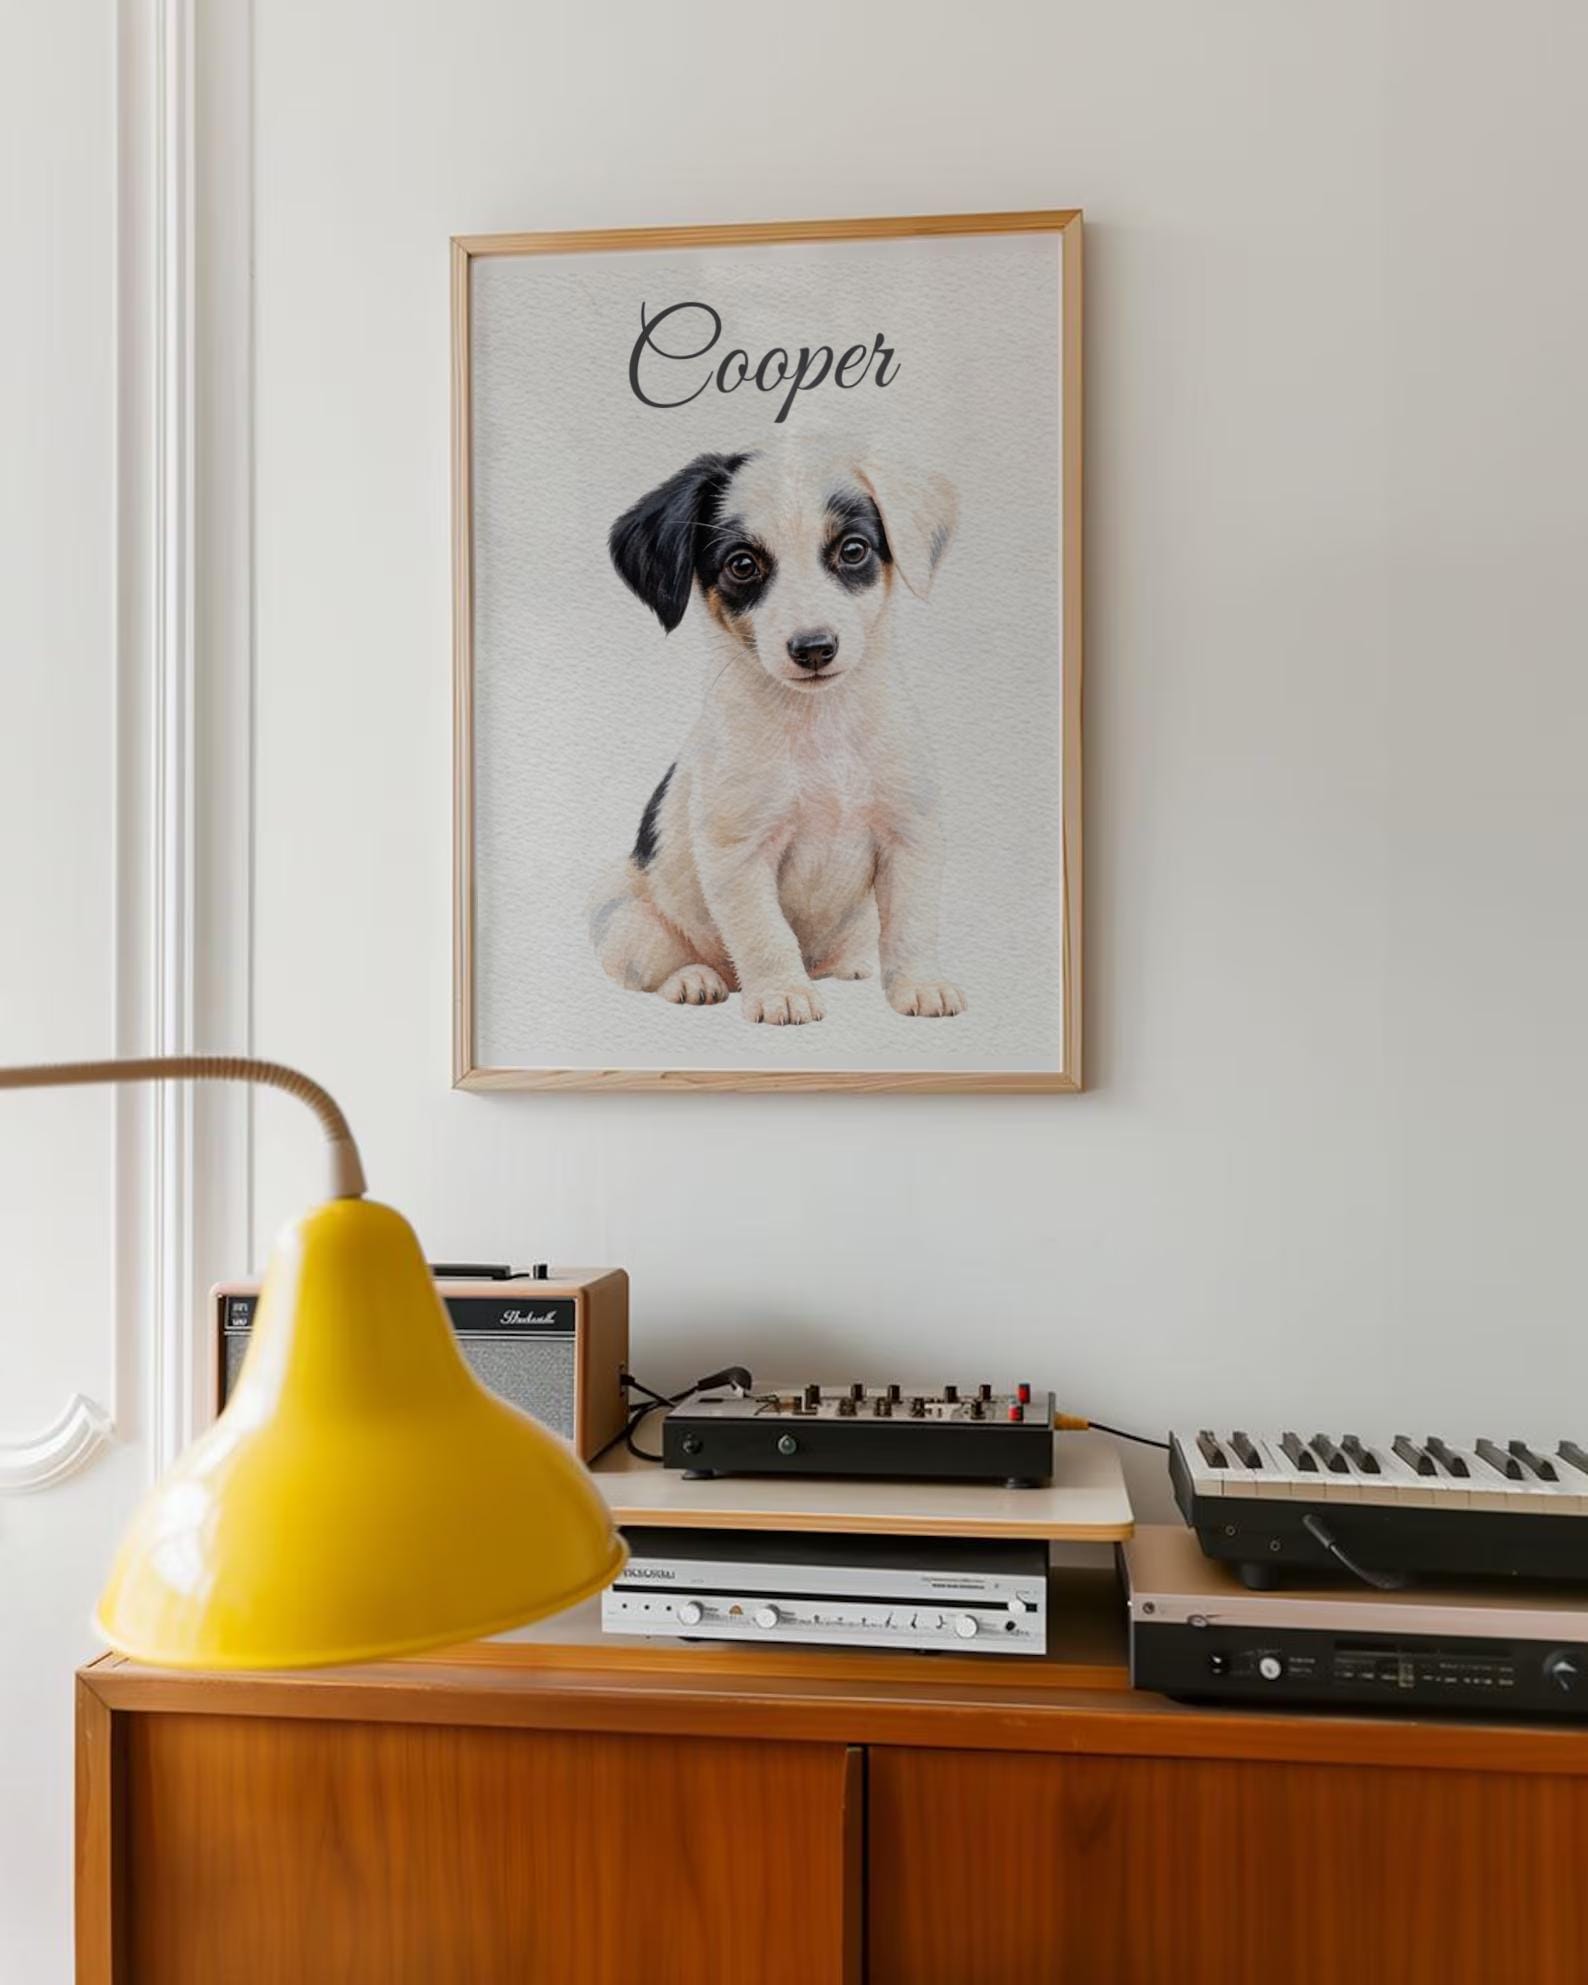
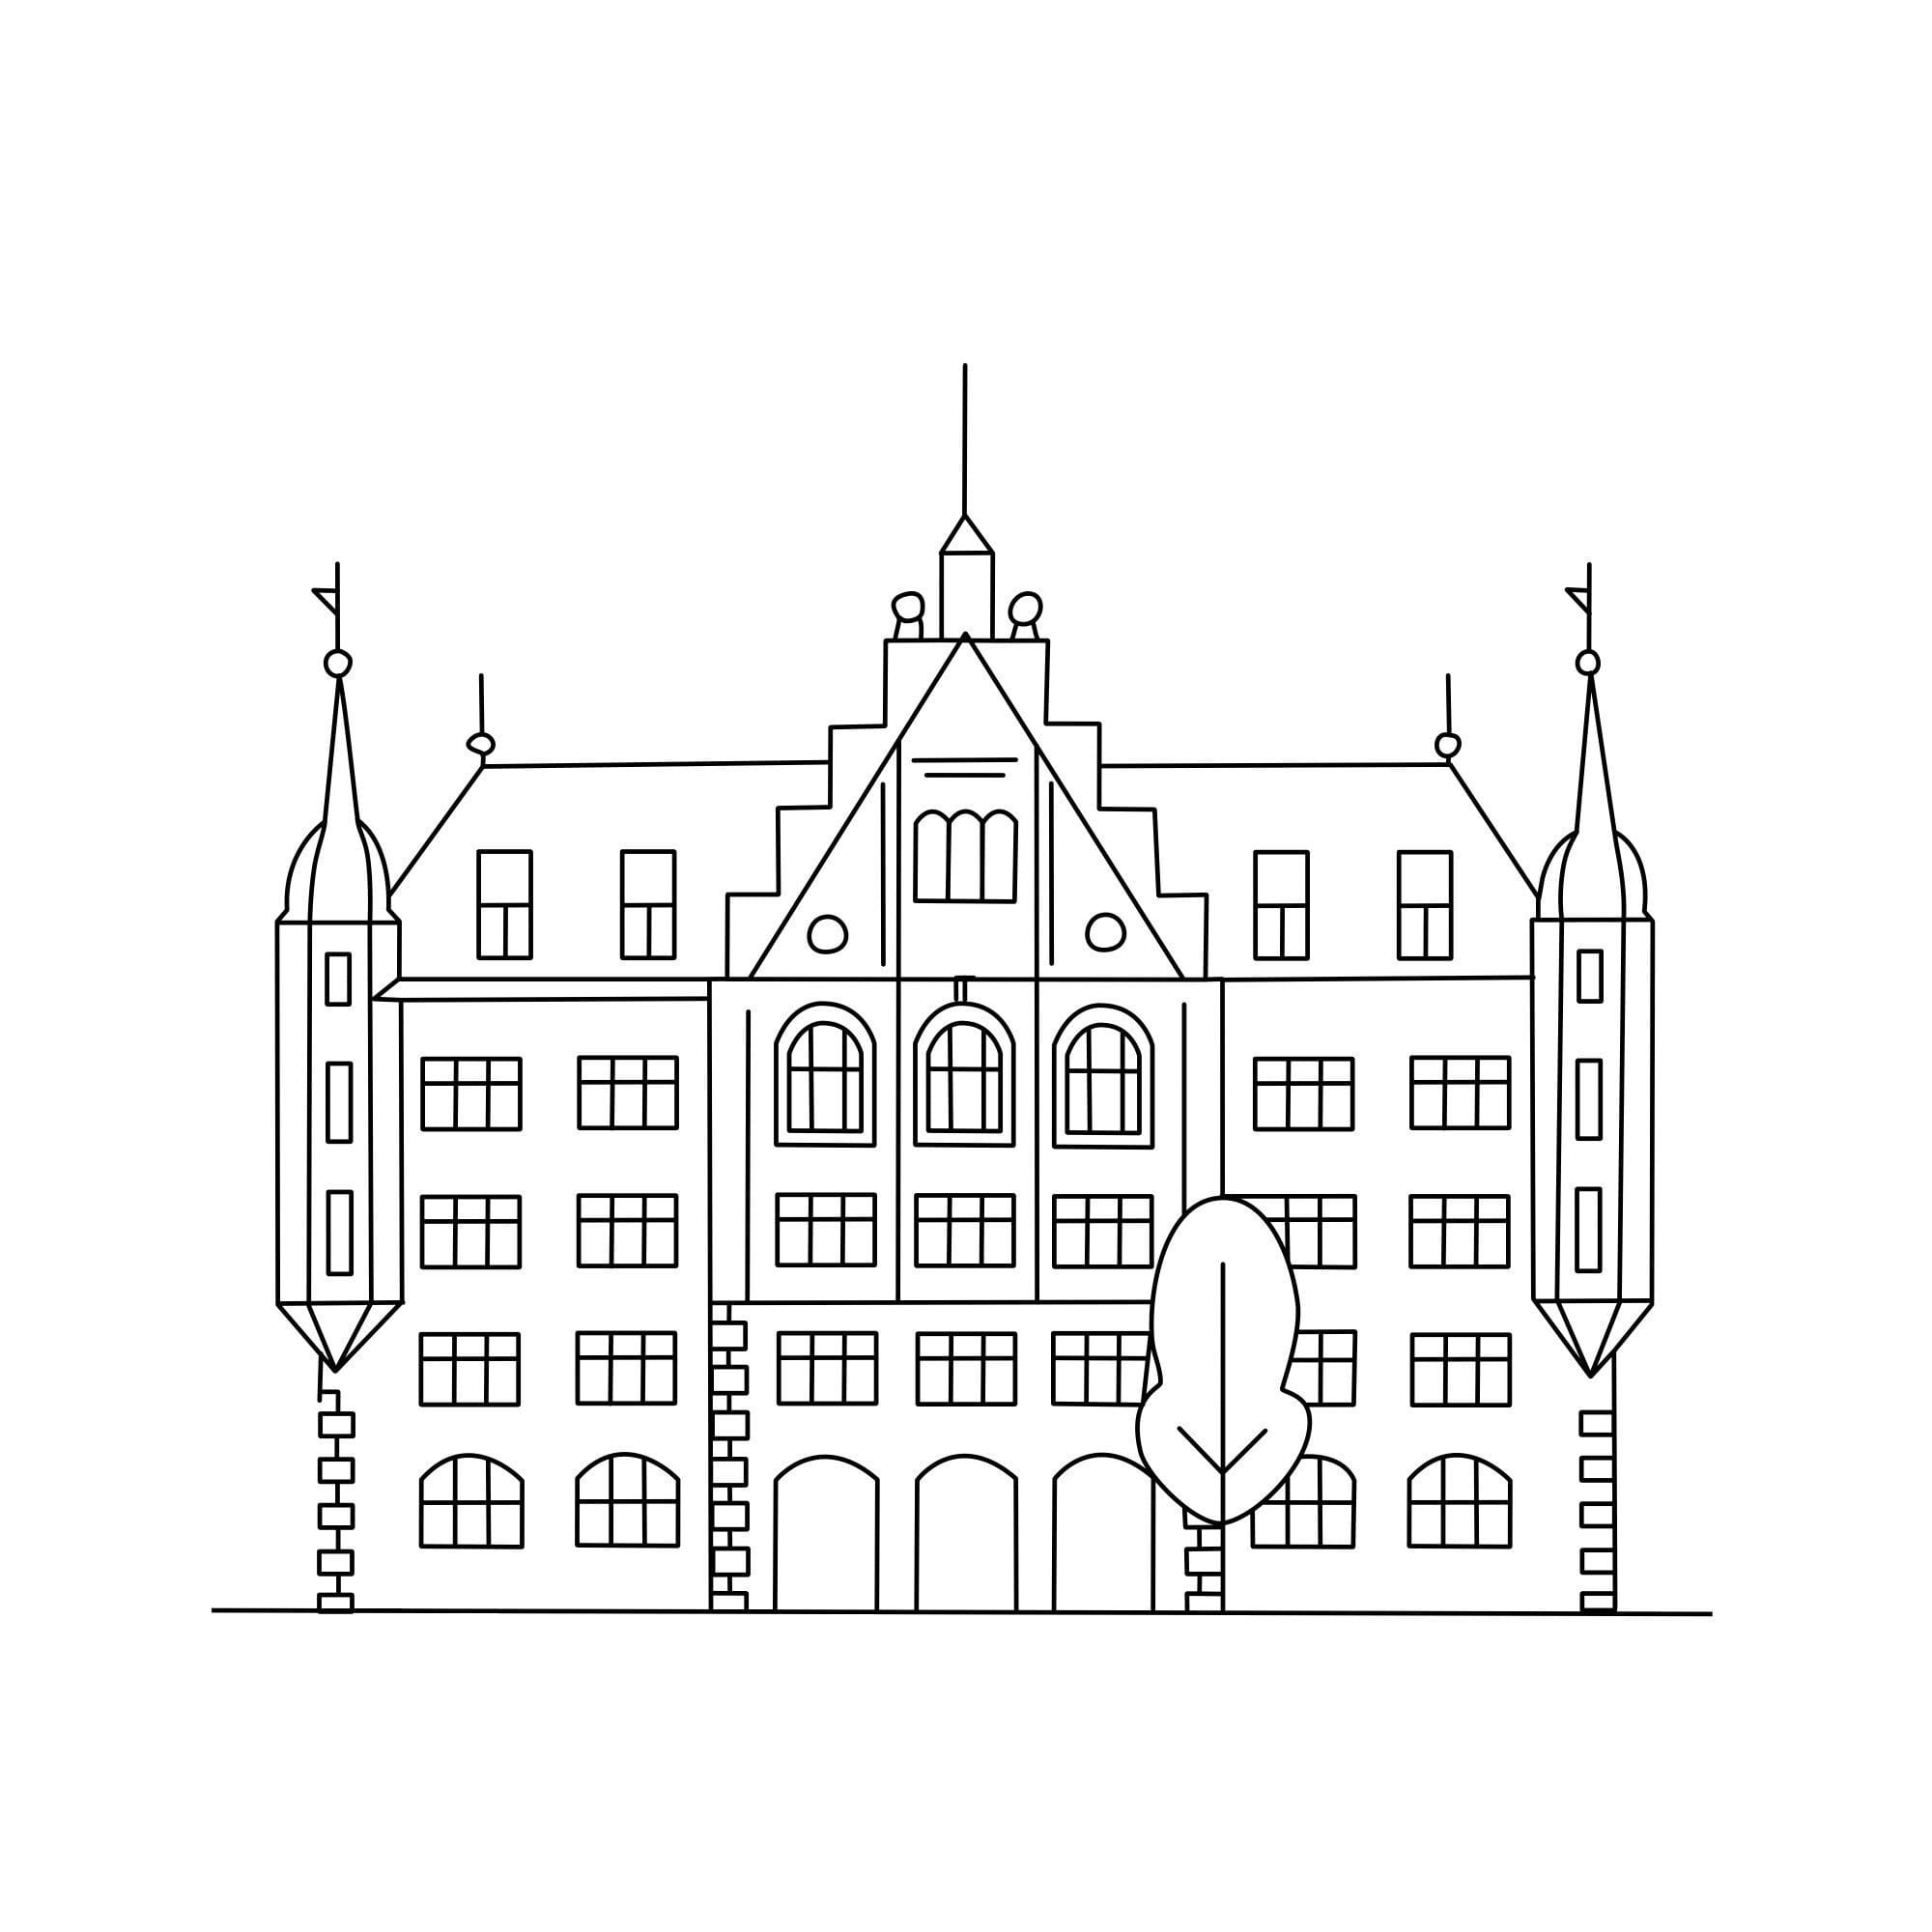
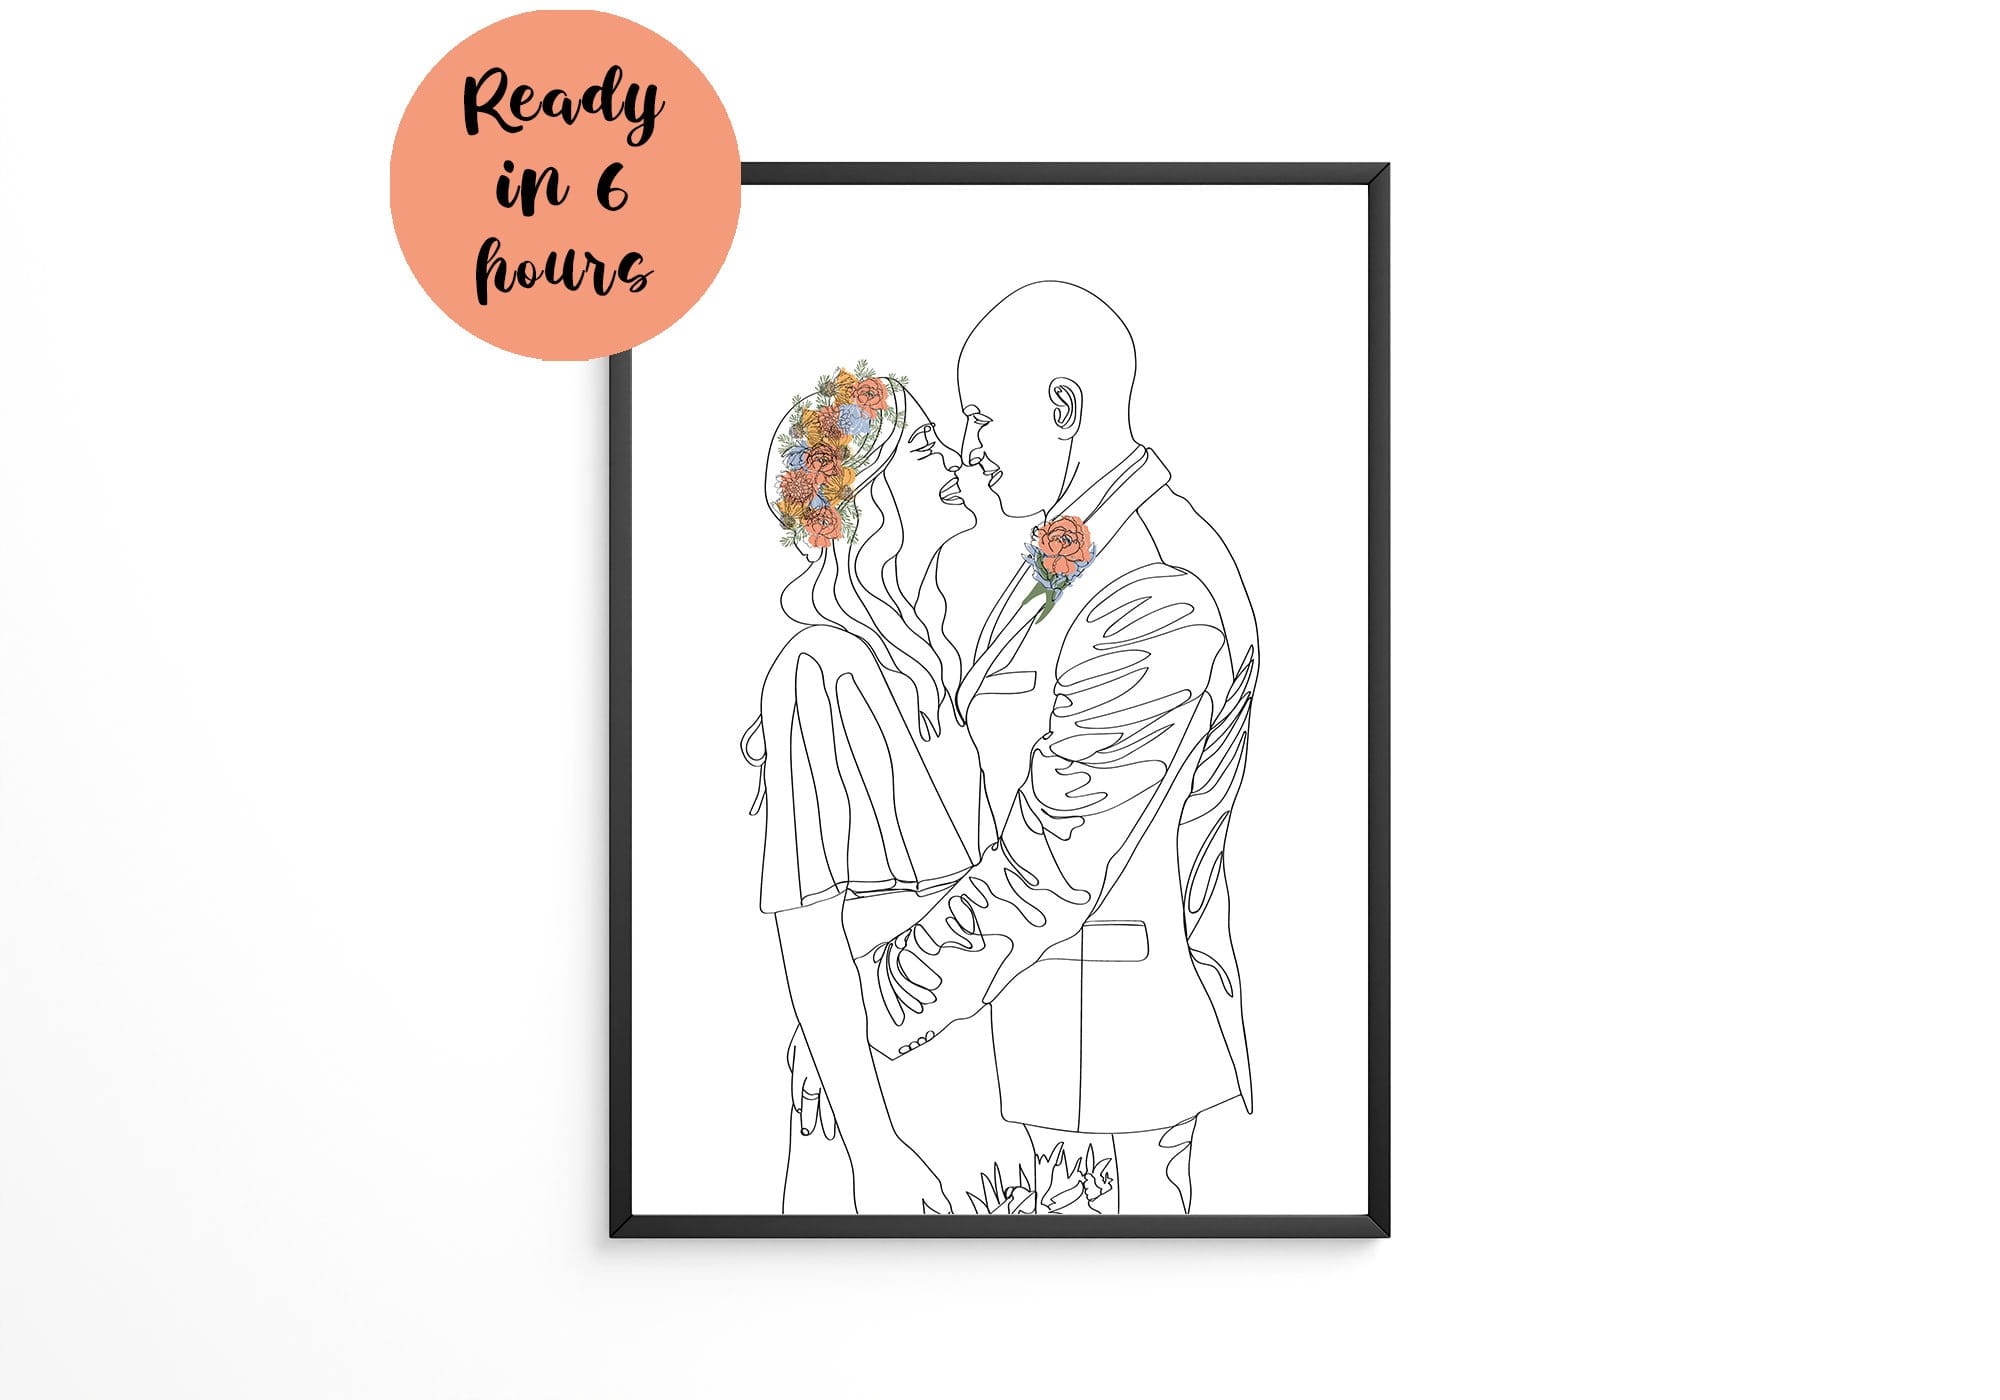
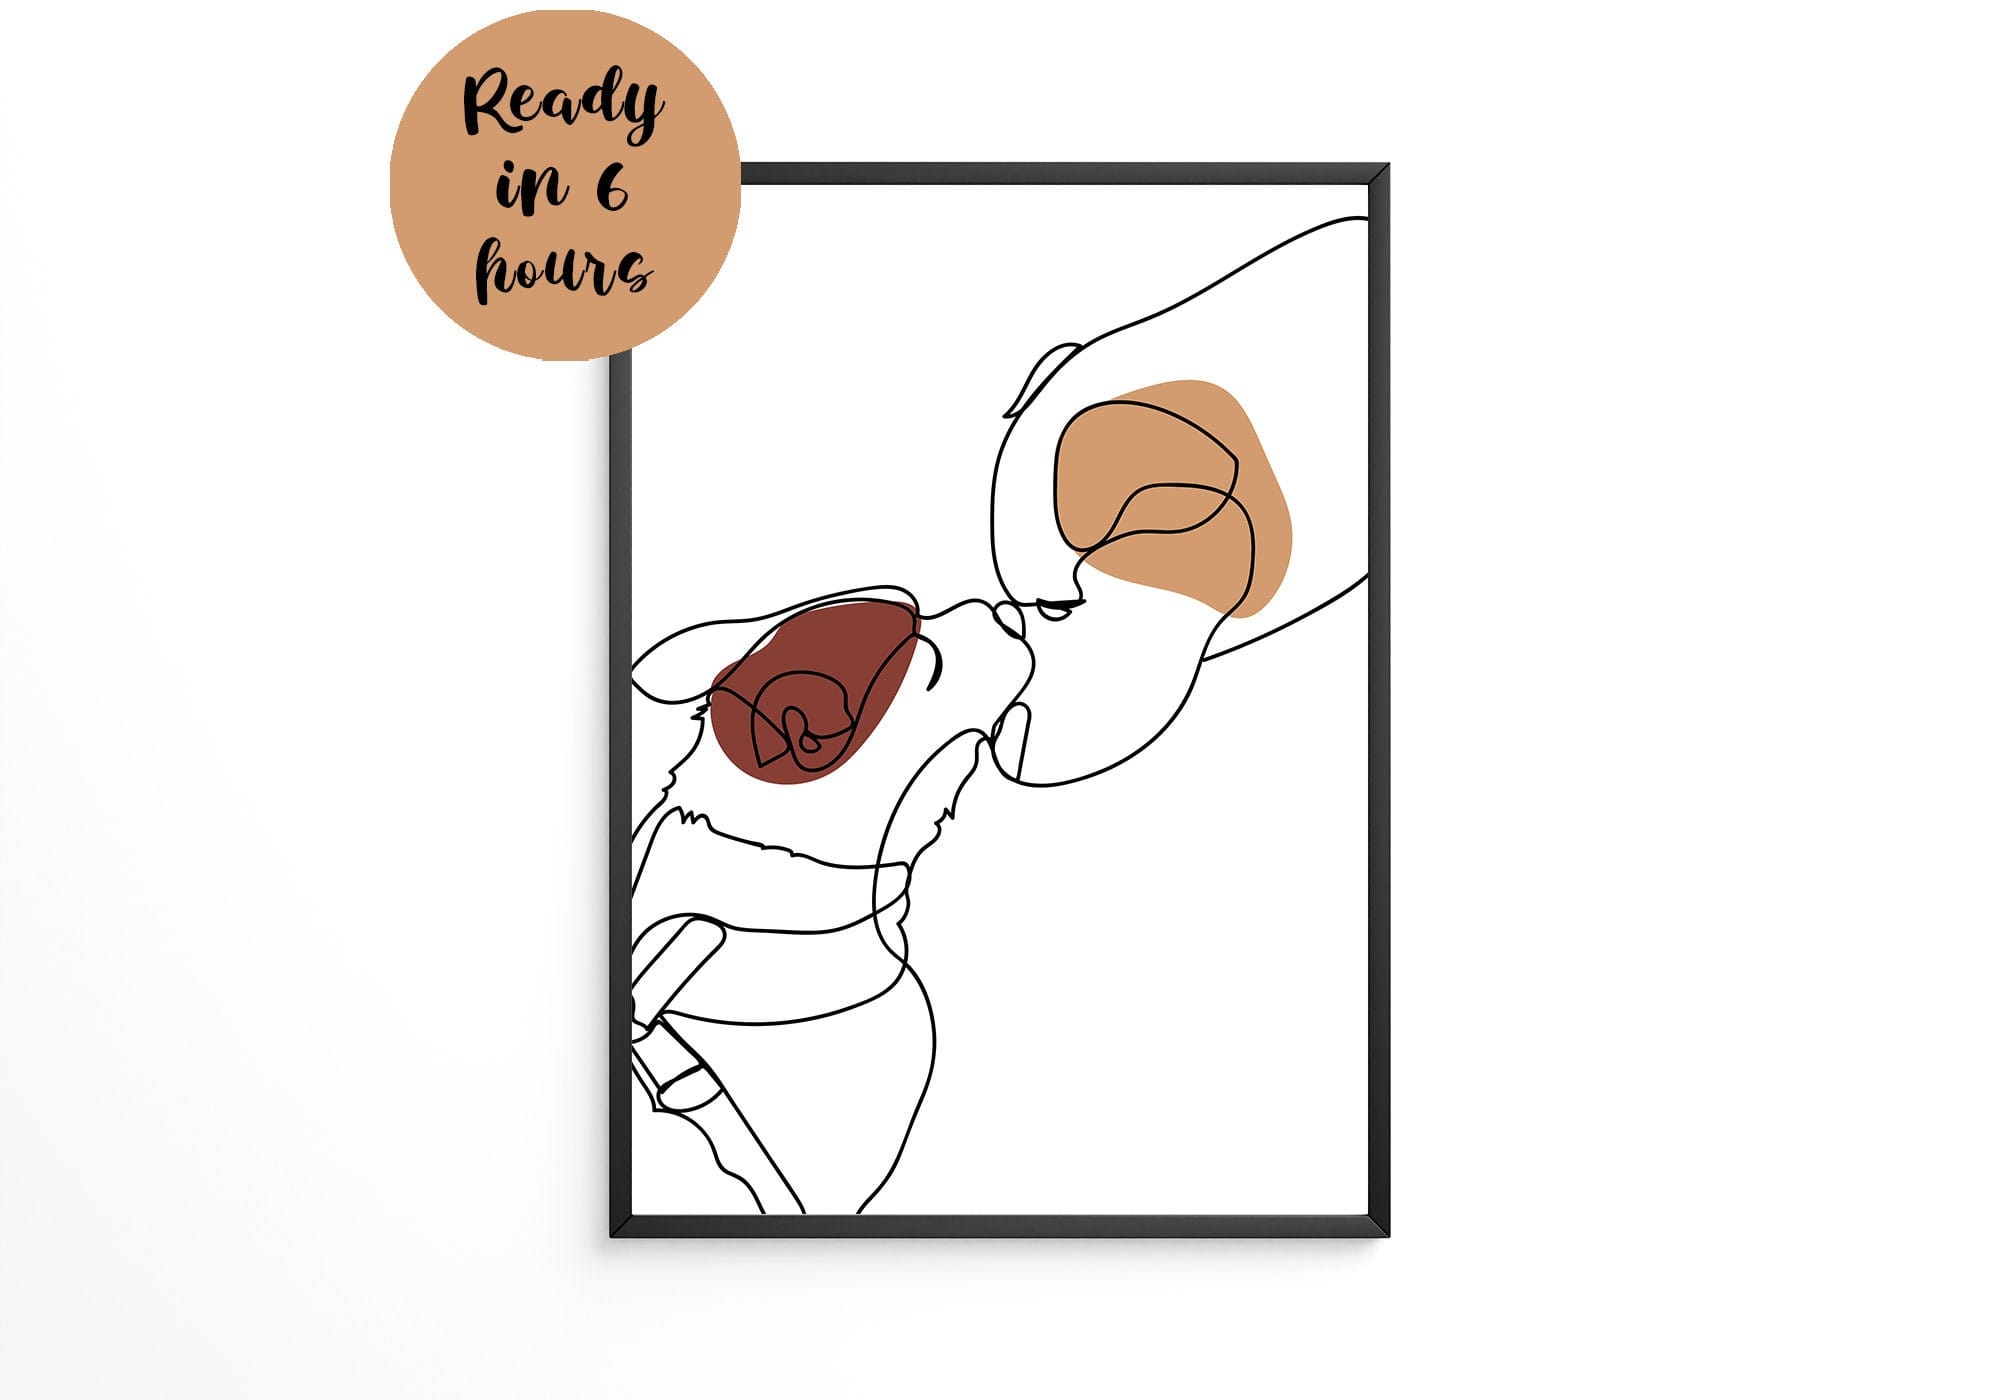
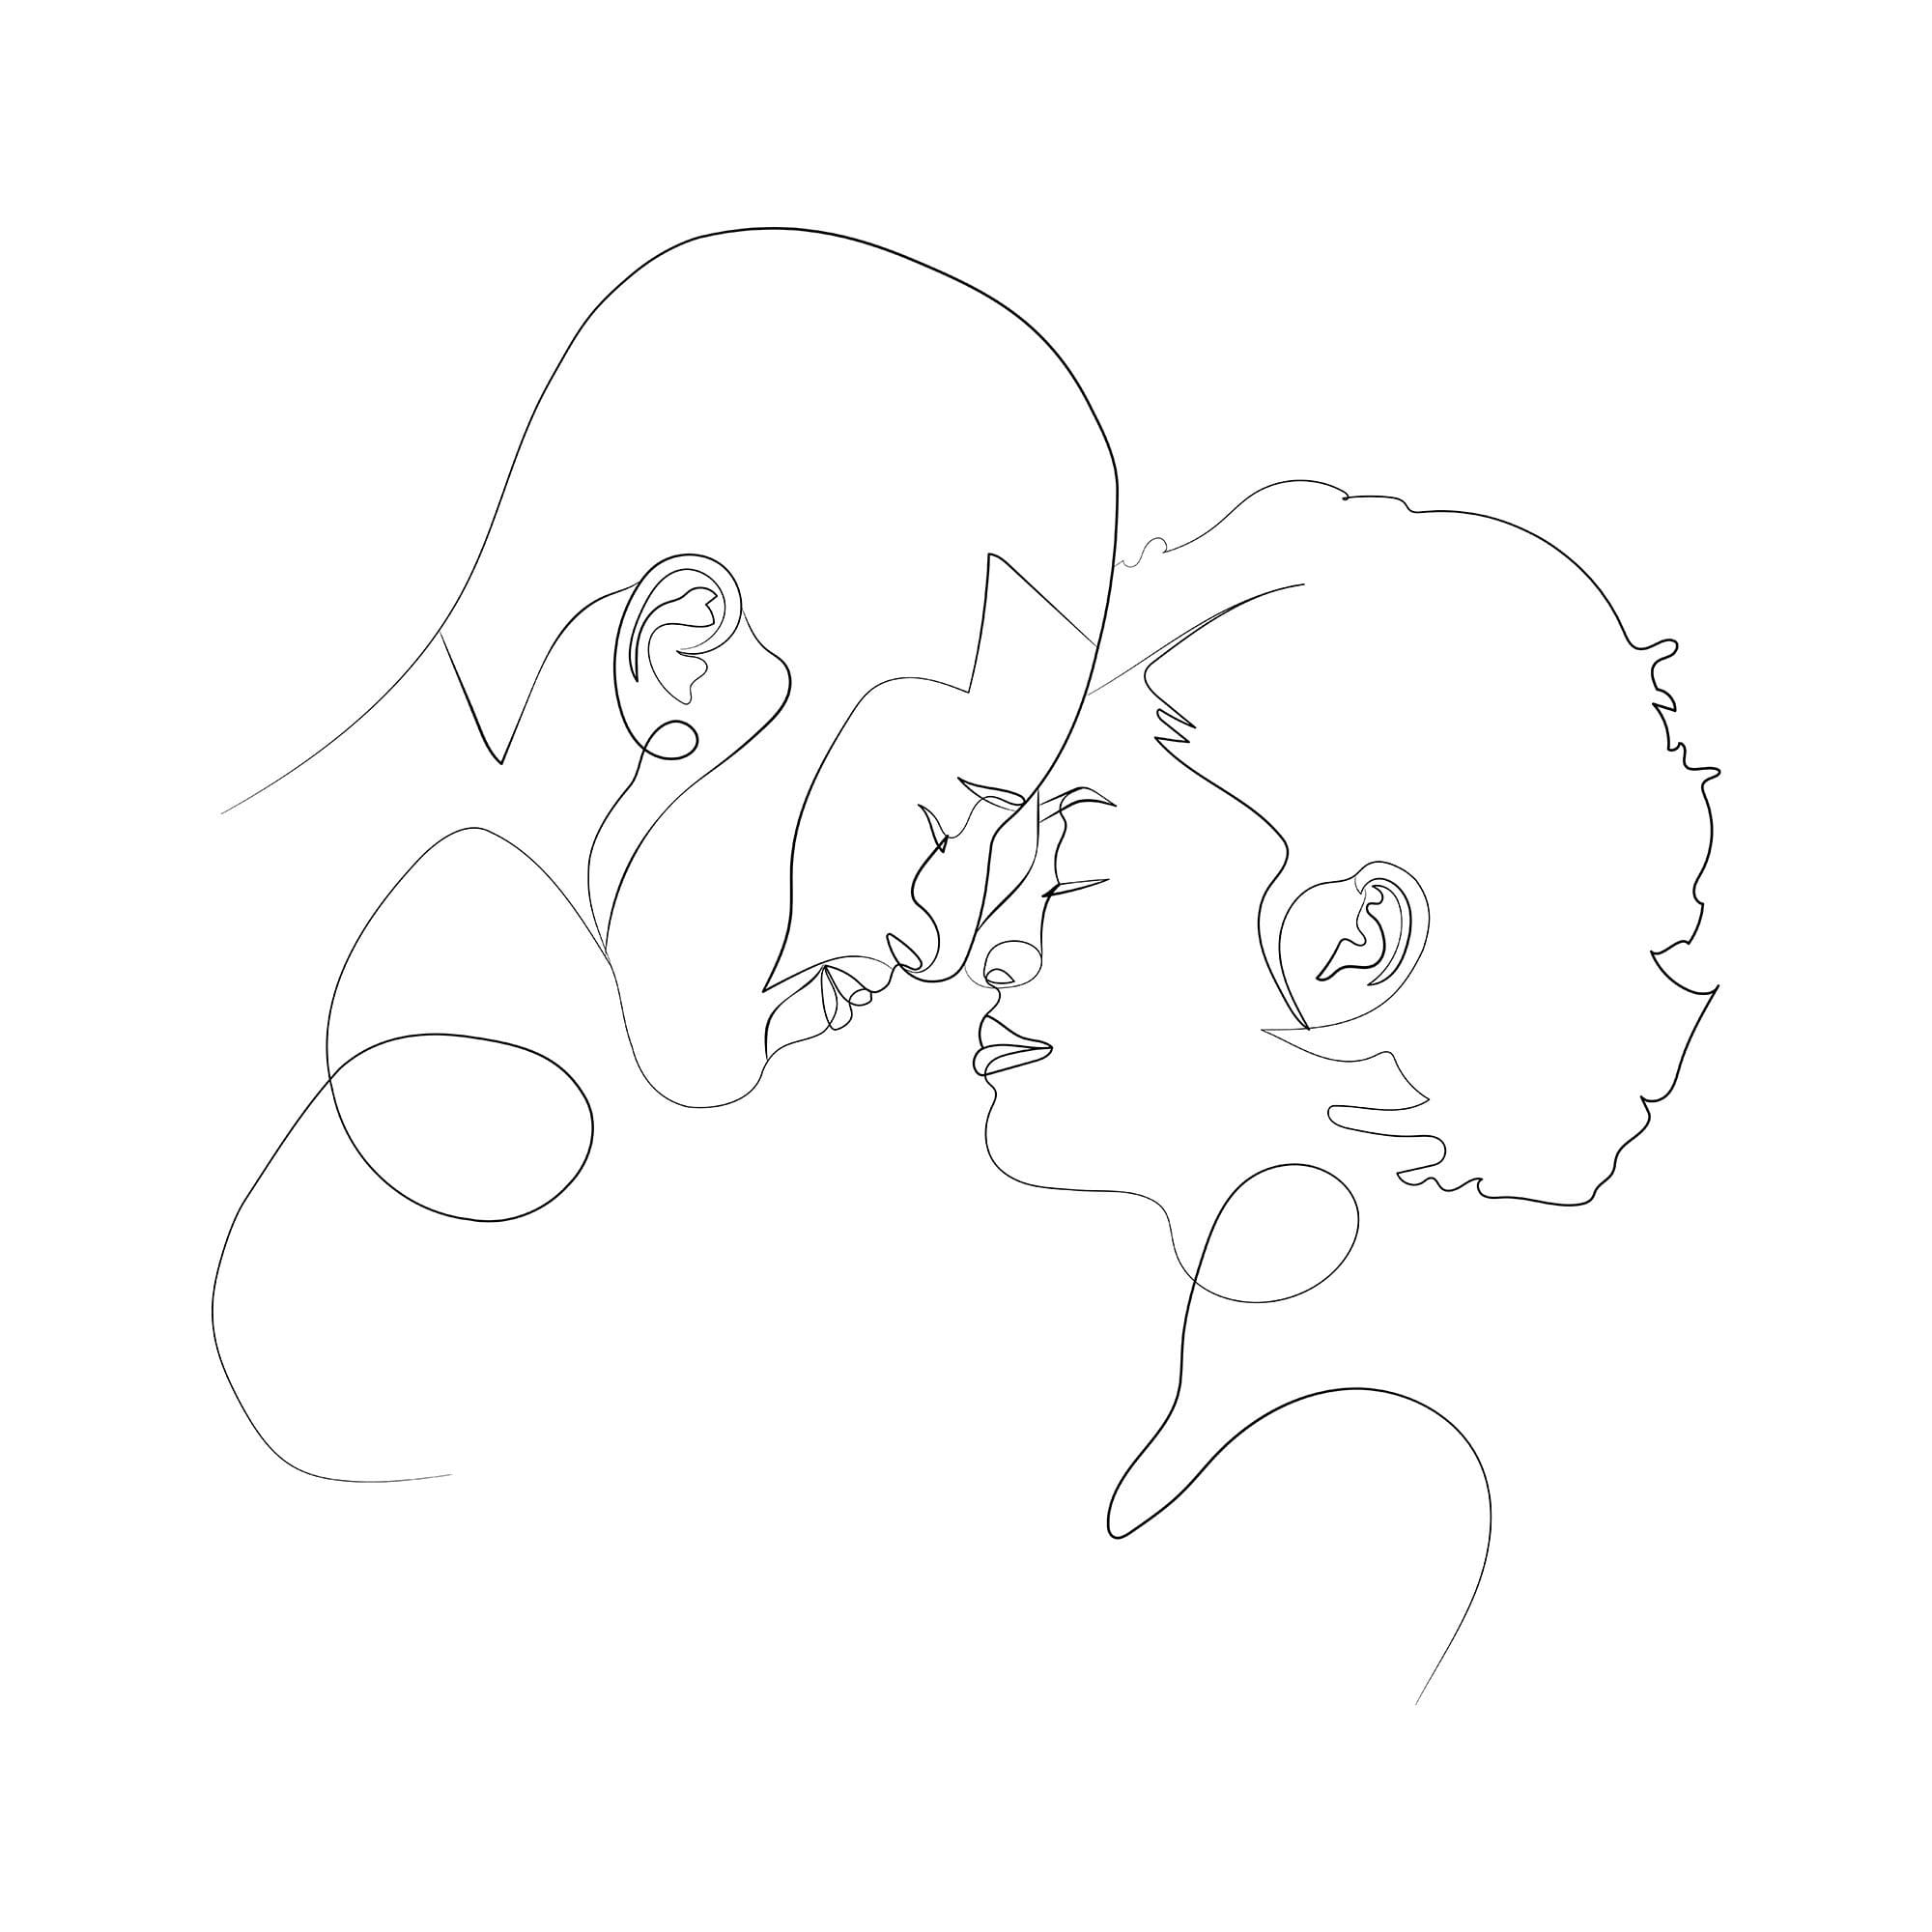
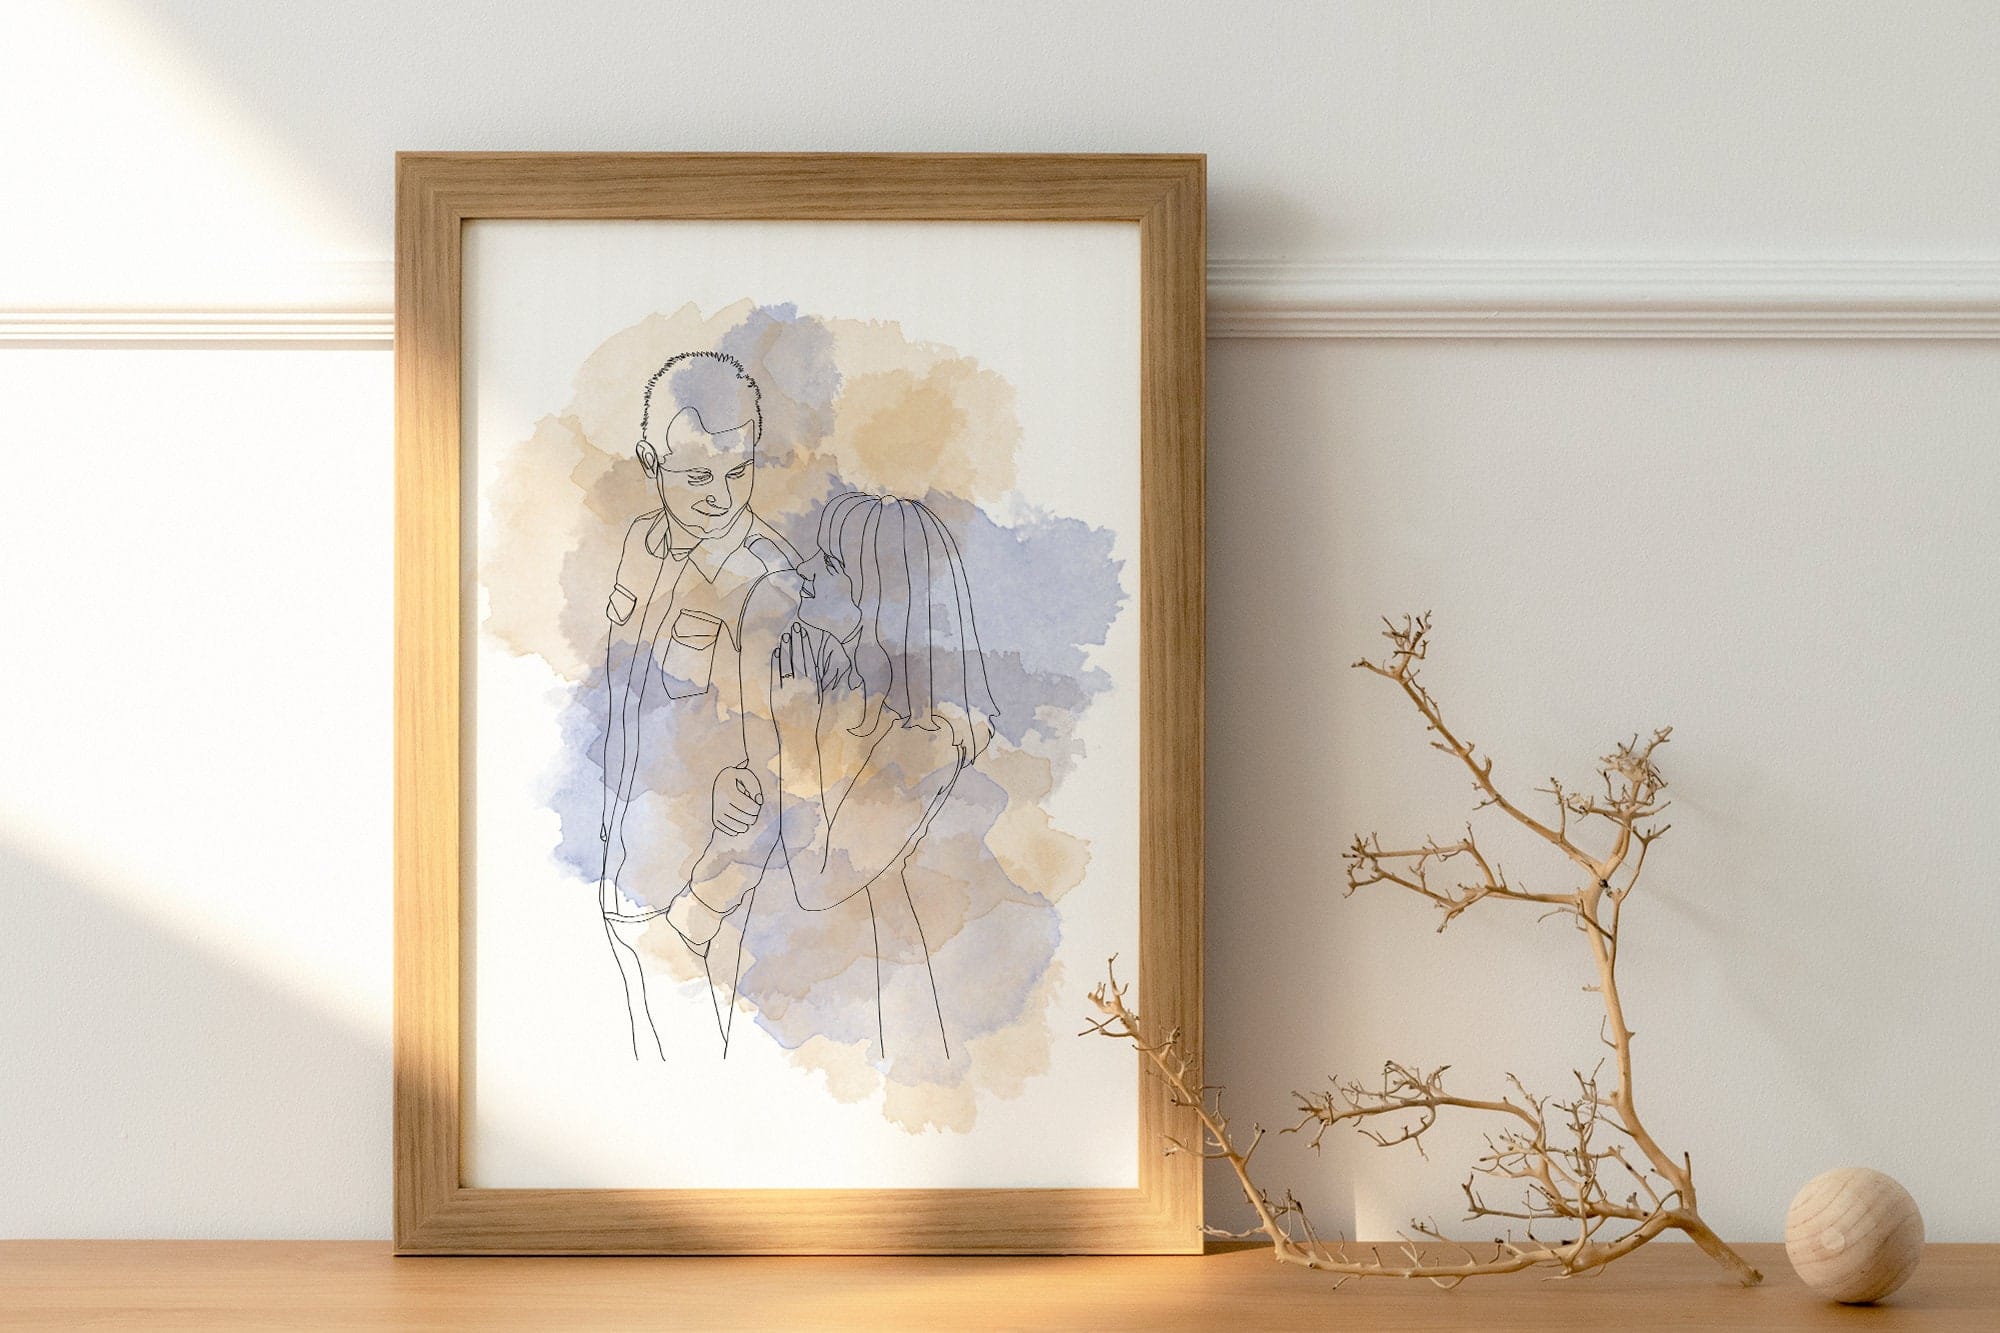
Line art and watercolour want different surfaces, which is worth knowing before you buy a pack of paper. Clean line work looks best on a smooth, bright, matte sheet where every stroke stays sharp. Watercolour washes want a little tooth, because the texture reads as paint rather than as a photograph of paint. If you are still deciding between the two, my comparison of line art or watercolour portrait style goes through how each one handles detail.
- Smooth matte photo paper, 200 to 250gsm. The safe all rounder, and the best choice for printing line art at home.
- Heavyweight matte card, 250 to 300gsm. Feels like a proper print, sits flat in a mount and does not curl.
- Textured fine art or watercolour inkjet paper, 230gsm and up. Ideal for watercolour portraits and soft washes.
- Uncoated bright white cartridge paper, 160 to 200gsm. Inexpensive, lovely for simple black line art, slightly softer edges.
- Lustre or satin photo paper. Good if the artwork is photographic or very dark, as it holds deep tones better.
- Cotton rag paper. The most expensive option and the most beautiful for a keepsake, but it drinks ink, so print a test first.
- Glossy photo paper. Best avoided for line art. It shows fingerprints, reflects behind glass and makes fine lines look slick rather than drawn.
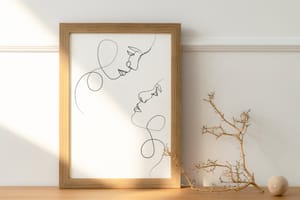
Most of the drawings in my OpenHeartLines shop are line work, so smooth matte is what I would buy for them, and the textured stock is worth it if you have ordered a watercolour portrait. Whatever you choose, load one sheet at a time, print with the coated side up, and let the sheet dry flat for ten minutes before you touch the surface.
Digital download print sizes and how to print bigger
Two sizes cover most gifts. A 5x7 print is the easy one: it fits a small frame, sits on a shelf and prints comfortably on A4 with a trim. An 8x10 is the size people actually hang on a wall, and it is what most shop files are built around.
If you want something larger, do not enlarge the file in a photo app. Message the maker instead. Most of us keep the working file and can export a bigger version, and with line art that is a quick job, because the drawing is made of clean vectors that scale without losing an edge. You can ask for a larger size before or after you order.
For anything above A3, a local print shop is worth the small cost. Take the original file on a USB stick, ask for matte or fine art stock, and tell them plainly not to crop or scale it. Ask for a small proof if the print is a gift.
Printing a portrait from an iPhone photo
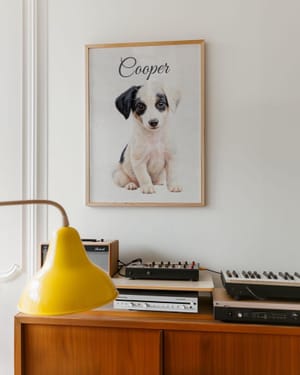
Phone photos make excellent artwork, as long as you are careful at the start. Send the original from your camera roll rather than a version forwarded through a chat app, which compresses it heavily. Good light matters far more than megapixels, and so does holding the camera at the subject's eye level instead of looking down at them. My guide to choosing the best photo for a custom pet portrait covers what makes a photo easy to draw from.
Framing a digital art print
A mount board does most of the work. Two or three inches of clean board around the artwork makes a modest print look considered, which is why an 8x10 in an 11x14 frame reads better than an 8x10 pressed tight to the glass. If the paper has any warmth in it, choose off white board rather than brilliant white.
Keep the print off the glass, either with that mount or with slim spacers inside the frame. Paper that touches glass can stick to it over the years. Acid free board and backing cost a pound or two more and are worth it for anything you mean to keep.
Hang it out of direct sunlight. Inkjet prints are stable but not immortal, and a spot facing a south window will take the softest tones first. If the frame came with glossy glass and the room is bright, non reflective glazing makes a noticeable difference.
Troubleshooting common printing problems
Nearly every disappointing home print traces back to one of a handful of causes, and all of them are fixable.
- Banding, or faint horizontal stripes. Usually a partly blocked nozzle or low ink. Run a nozzle check and head clean, then print again. If it persists, drop the speed and raise the quality setting.
- Colours look duller or darker than the screen. Screens are backlit and paper is not. Check you are not colour managing twice, and reduce your screen brightness before comparing the two.
- Edges cut off or the signature missing. 'Fit to page' or a scale other than 100%. Reset it, and check borderless printing is on if the design runs to the edge.
- A thin white line on one side. The paper has fed slightly skewed. Load a single sheet, square it against the guide and try again.
- Soft or fuzzy lines. You are probably printing an enlarged or re-saved copy. Go back to the original download.
- Ink smudging or pooling. The paper type in the driver does not match the paper in the tray, or the sheet was handled too soon.
- The print curls as it dries. Normal on thinner stock. Leave it flat under a book overnight.
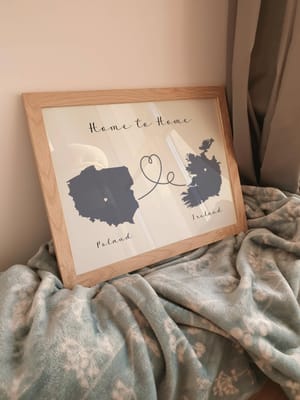
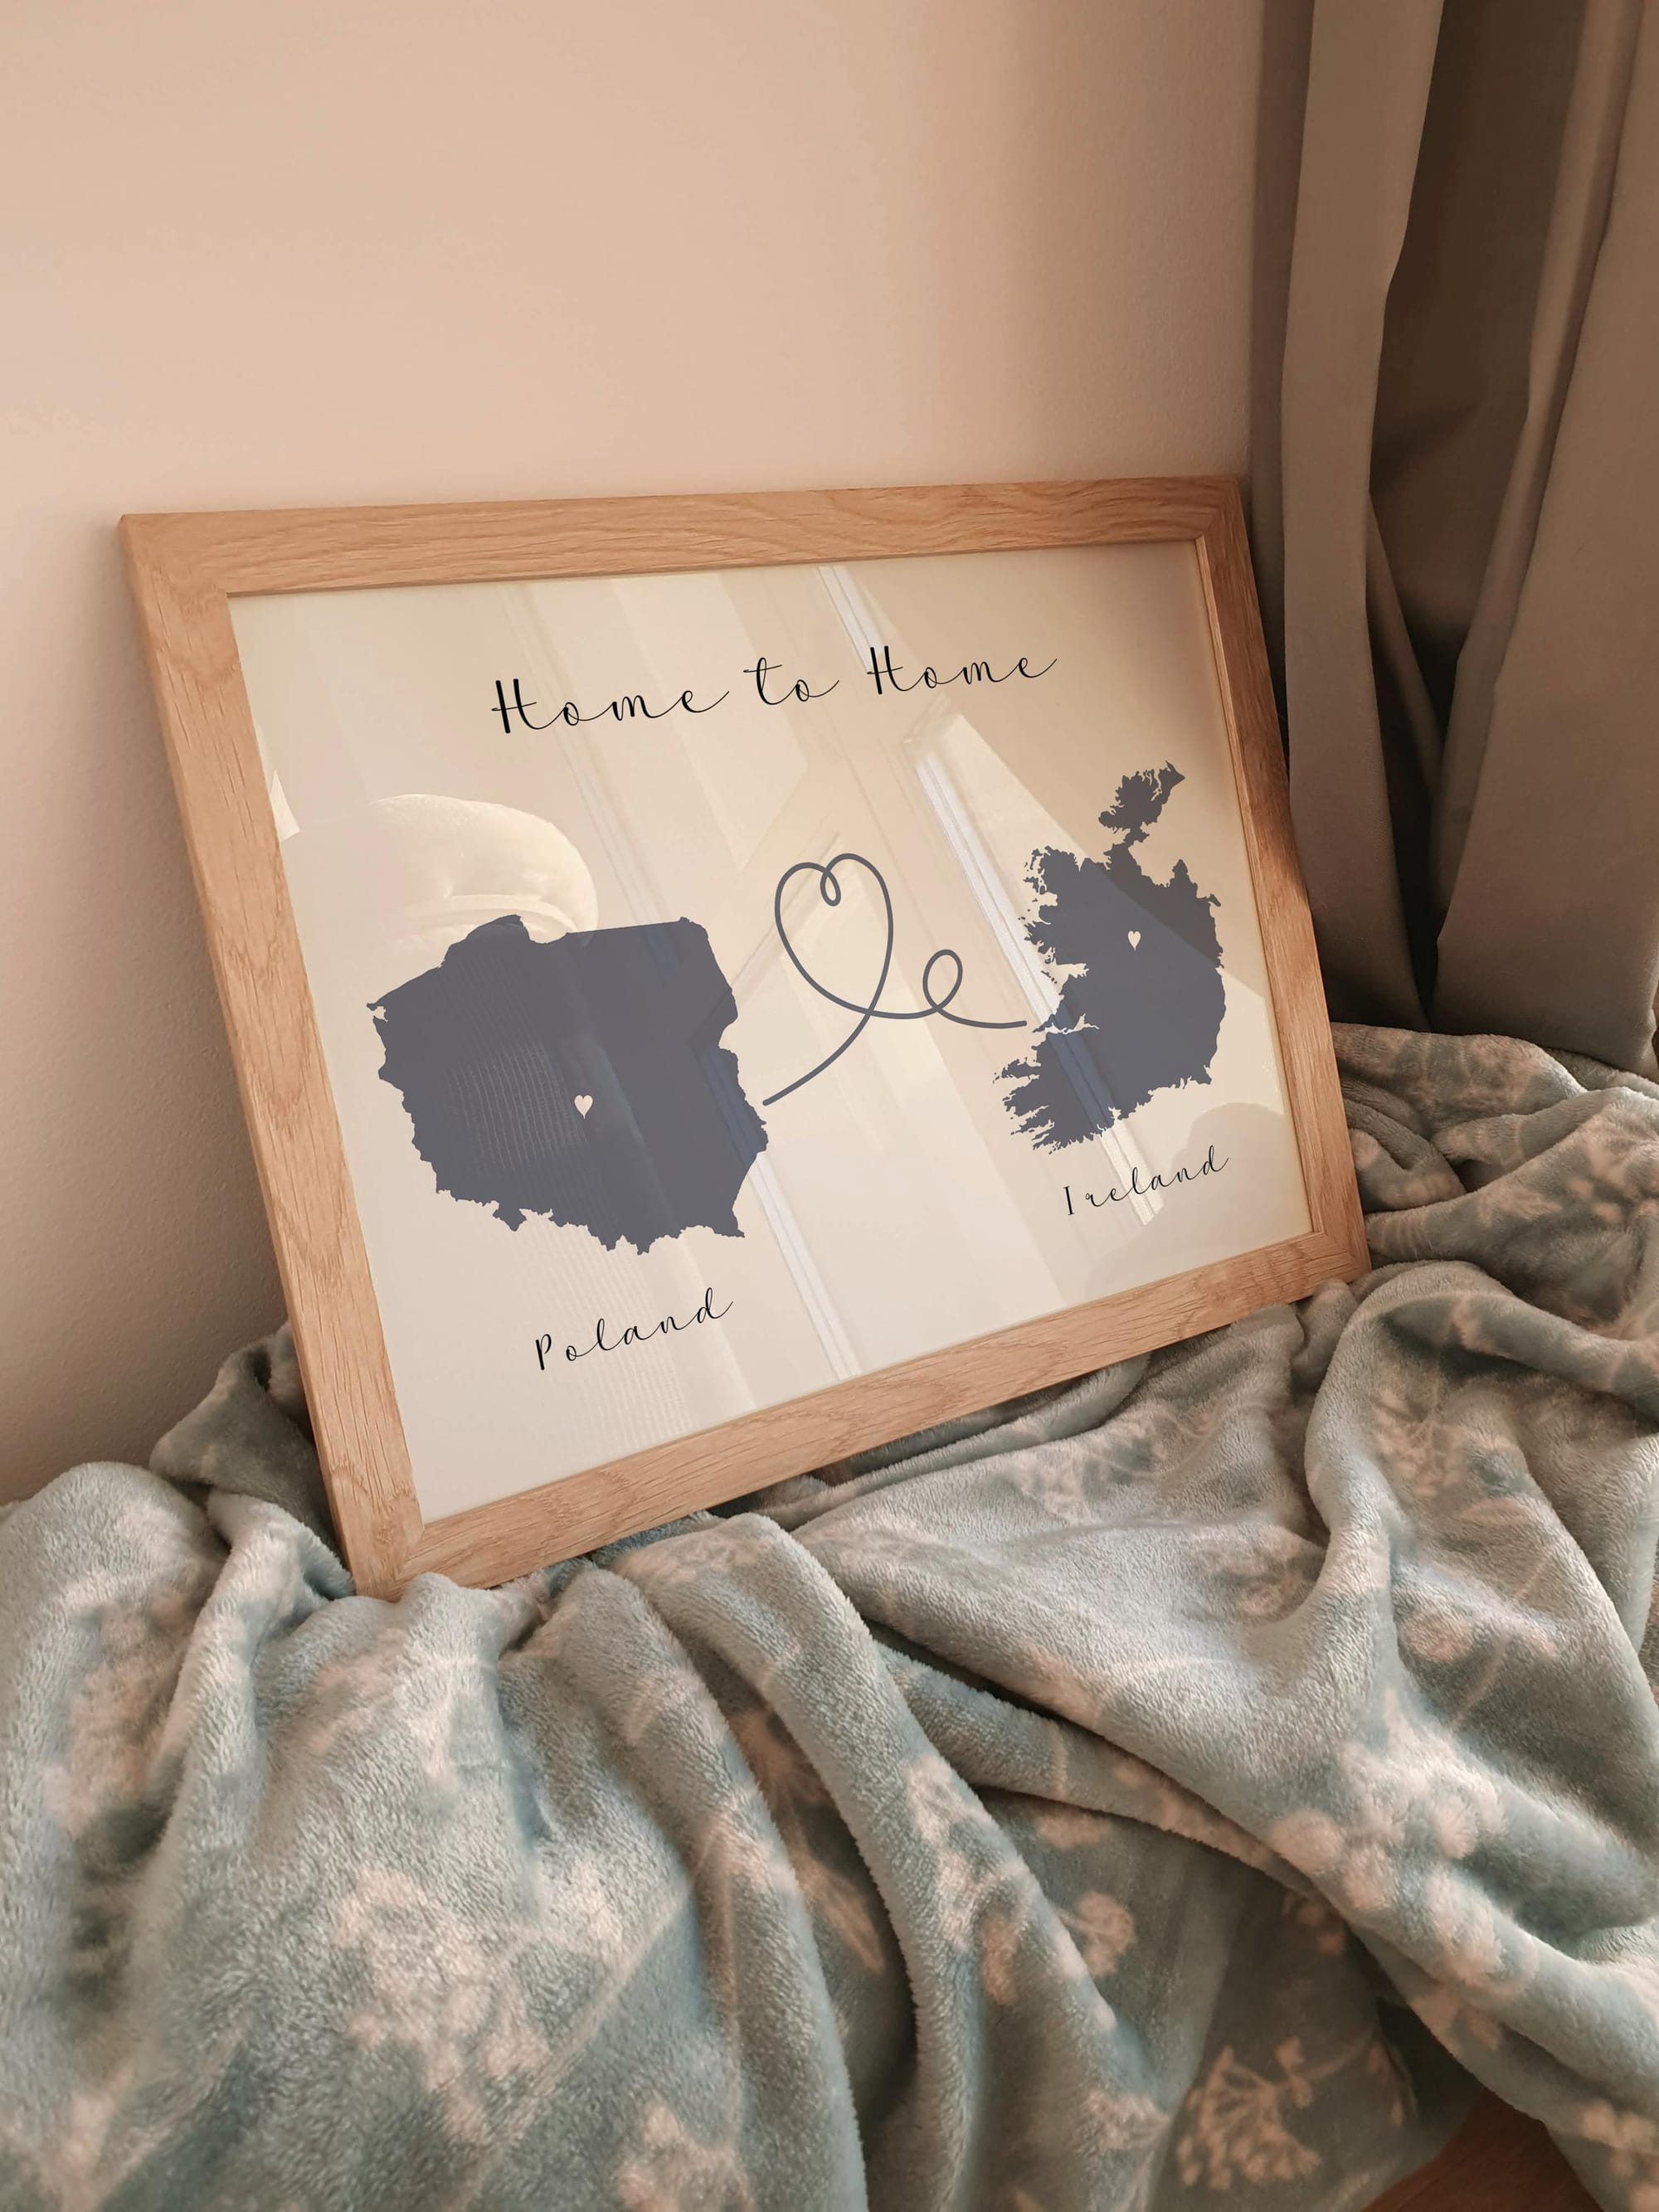
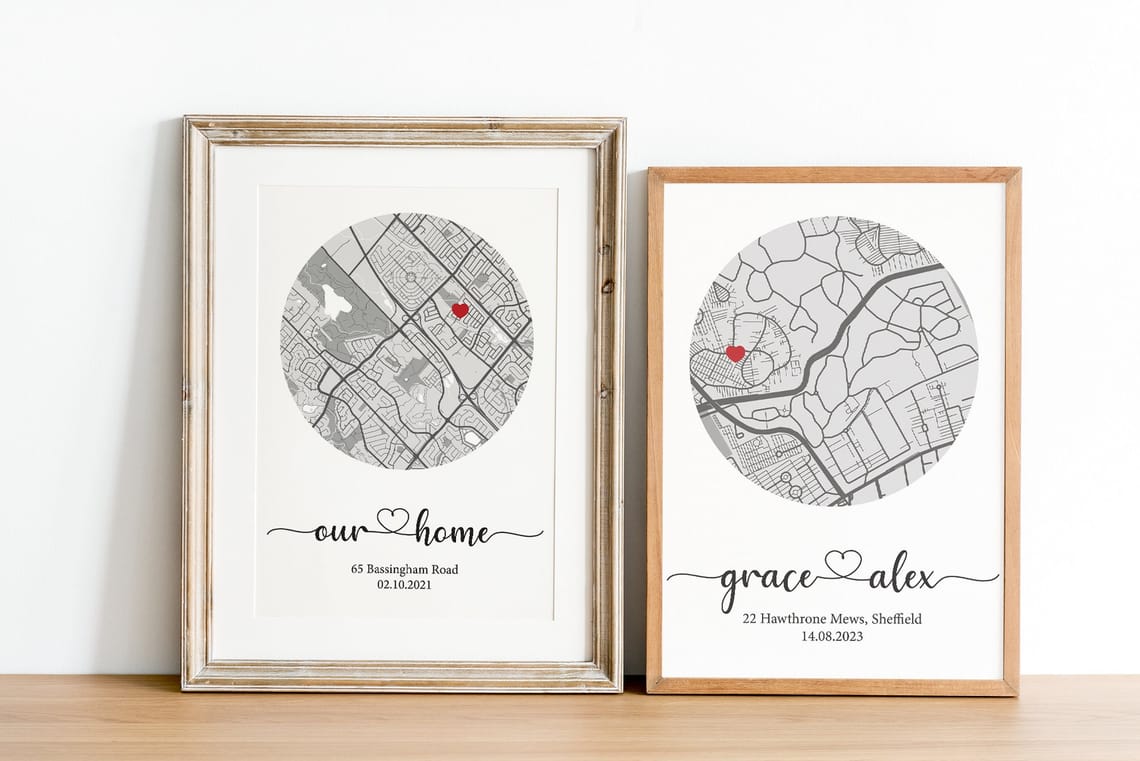
If two careful attempts still look wrong, take the file to a print shop rather than spending more on ink. A single A4 print costs very little, and for a gift it is the calmer choice. If you are still choosing the drawing itself, have a look at the portraits and maps in the OpenHeartLines shop and tell me the frame you have in mind, and the file will arrive at the right size for it.
Frequently asked questions
Can I print a digital art file at home on a normal printer?
Yes. Any modern inkjet will give you a good 5x7 or 8x10 from a 300 dpi file, provided you print at 100% scale on decent matte paper with the quality setting turned up. Laser printers cope with simple black line art, but they handle soft watercolour washes less gracefully, and washes are where the difference shows.
What is the best paper for printing line art?
A smooth, bright white matte paper between 200 and 250gsm. The smoothness keeps each stroke crisp and the weight stops the sheet curling. A matte surface also avoids the reflections that make fine lines vanish behind glass. Save textured watercolour stock for painted styles, where the tooth flatters the washes rather than fighting the linework.
Can I print an 8x10 file at a larger size?
Up to A3 you will often get away with it, especially with line art, which holds up better than a photograph would. Past that, ask the maker for a larger export instead of enlarging it yourself. I keep the working files, so a bigger version is usually a quick job and every edge in the drawing stays sharp.
Why does my print look darker than the file on screen?
Your screen emits light and paper only reflects it, so a print always reads a little deeper than the file did. Turn your screen brightness down to roughly half before you compare the two. Then check that only one piece of software is managing colour, and that the paper type in the driver matches the sheet you loaded.